How to Install End Walls on Your Greenhouse
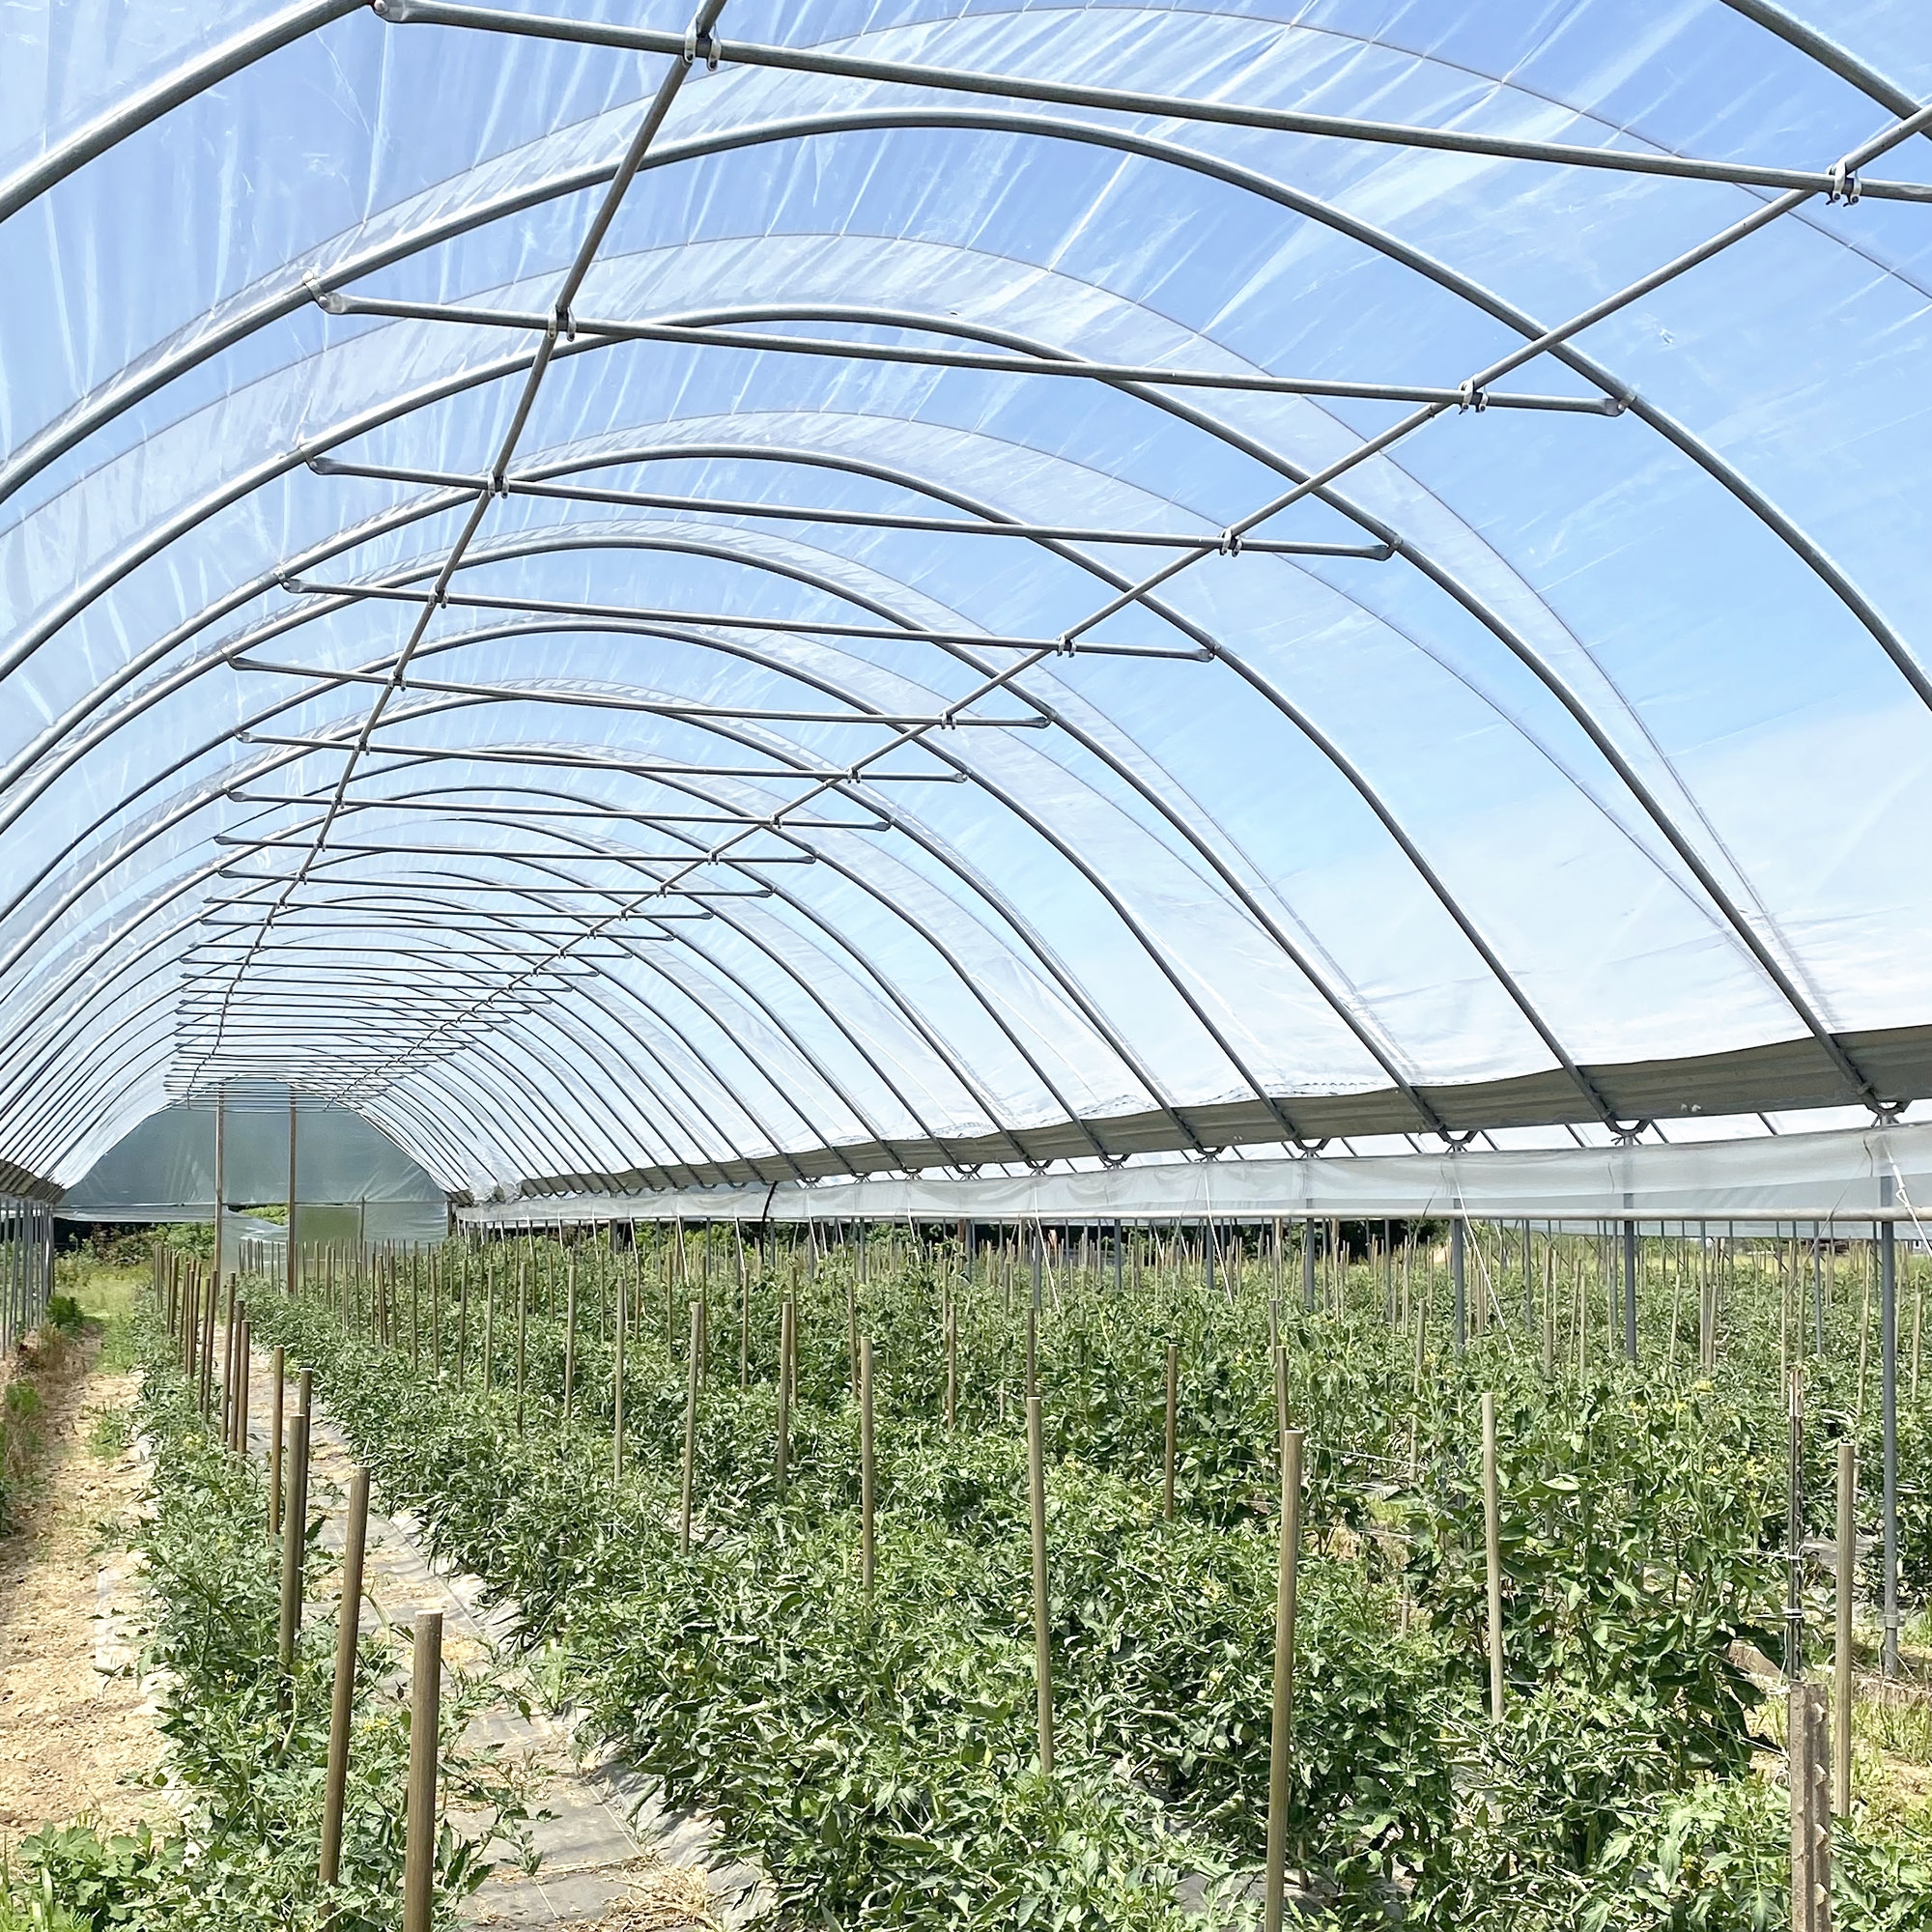
Greenhouses, like any structure, are arched or pointed to prevent rainwater from collecting on the roof, but did you know that the arched roof is most common because of how light and solar energy are transmitted? An arched roof allows maximum light and solar energy to reach your plants throughout the day. While the arched roof benefits your plants, it is often perceived as difficult to assemble. The main frame of a greenhouse consists of several conduit arches lined up to form a tunnel, which, in a way, actually makes installing the greenhouse plastic easier. But what about the end walls?
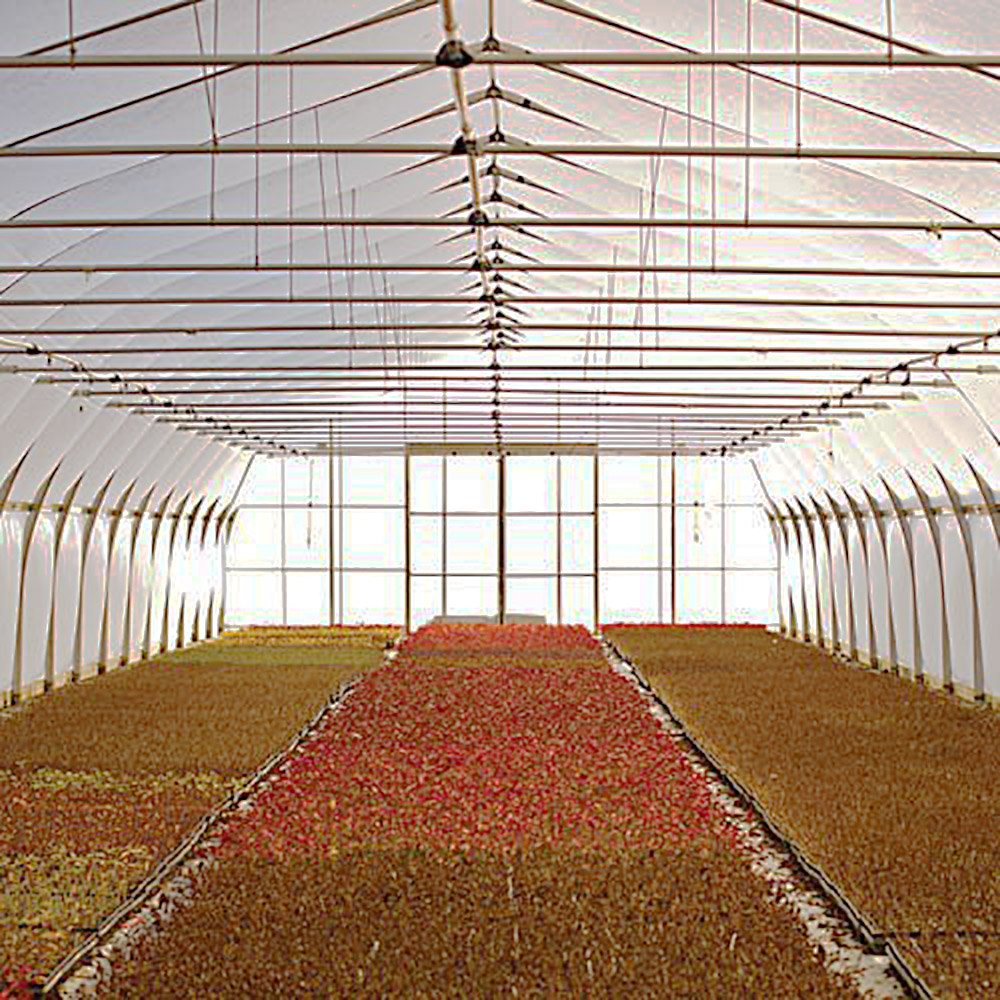
What is a Greenhouse End Wall?
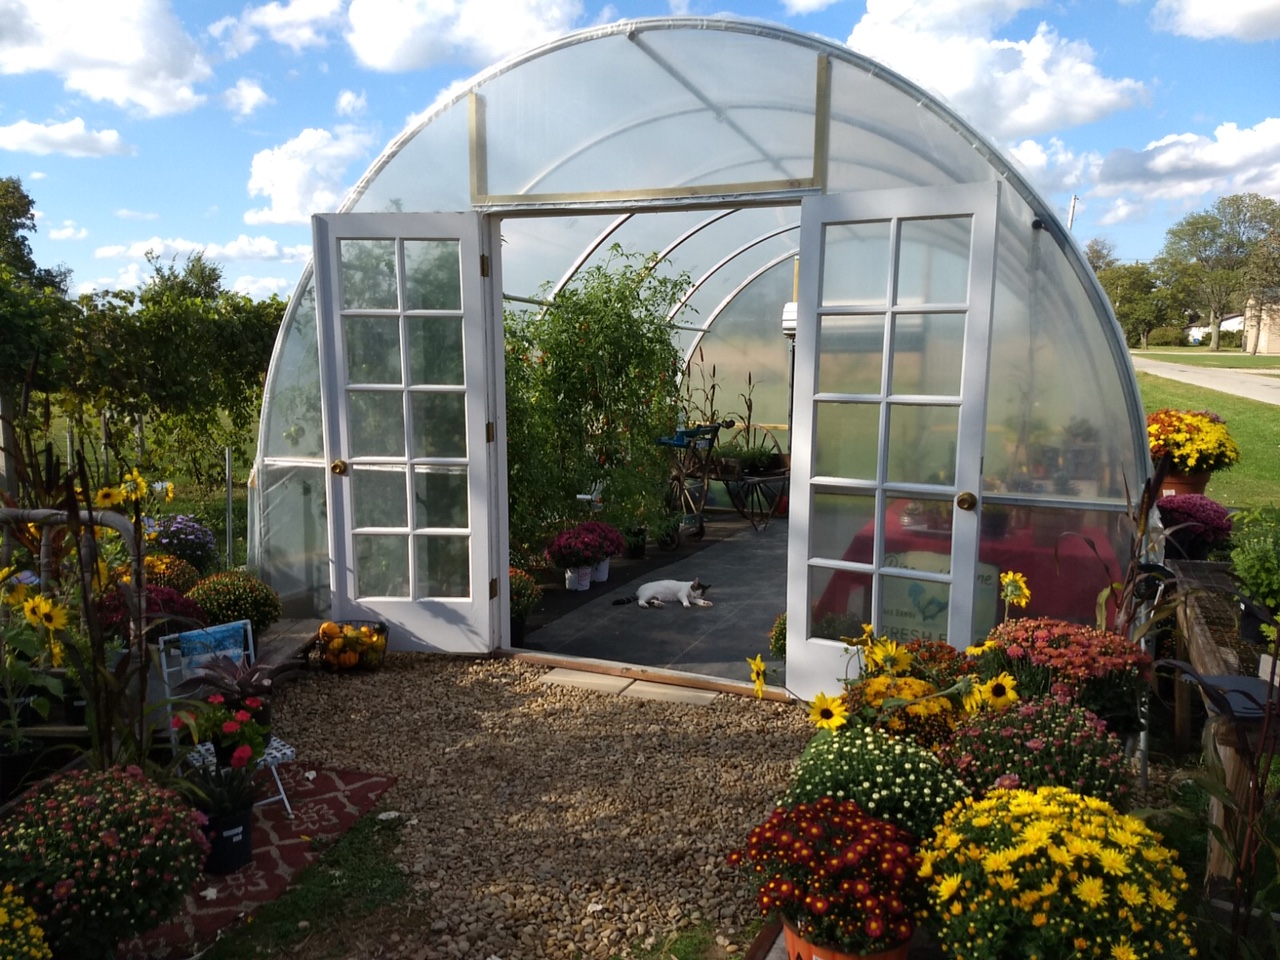
End walls are the walls at either end of the greenhouse. The end walls are where the entrance is and where you may install a vent or fan. End walls are a bit more complicated to construct. When building your end walls, consider the arch, an entryway, and how to join it to the main frame seamlessly. Some math may be involved, but Jiggly Greenhouse is here to help.
What Do I Need to Build a Greenhouse End Wall?
Greenhouse end walls can be made of many materials, though the most common is a continuation of whatever material you used to build the main frame. So, if you used conduit and polyethylene film, we recommend continuing with conduit and polyethylene film. If you built your frame out of wood and use polycarbonate, we recommend using wood and polycarbonate to build the end wall. The amount of material will depend on the size of your greenhouse: height and width. Some supplies we guarantee you will need include:
- Measuring Tape, Pencil, & Level
- Power Saw & Rotary Tool
- Lumber or Steel
- Screwdriver & Wrench
- End Wall Framing Bracket Adapters & Brace Bands
- OR Twist End Connectors
- Nuts & Bolts & Self-Tapping Screws
How to Make a Greenhouse End Wall
The assembly and installation of a greenhouse end wall varies not only between a closed-end wall and an end wall with a door, but also with the size of your greenhouse and preferences. Greenhouse construction is highly customizable, but continue reading for generalized instructions.
Installing a Closed Greenhouse End Wall
Constructing a closed-end wall on your greenhouse will be simpler than building the entry-end wall. Note: Depending on the size of your greenhouse, the amount of material and the number of necessary steps may vary.
- Measuring & Marking the Frame Vertically: For larger greenhouses, you will want to add structural support on the closed-end wall. Locate the center of the arch. This can quickly be done if your greenhouse has a center top rail; otherwise, measure the distance between the two top rails and mark the center point. Measure 1.5 feet to the left and right of the center point on the main frame. This will be where your two vertical support posts will meet the arch. For a larger greenhouse, you may continue marking 1.5 feet from the center point until you reach the hip rail. This allows for more vertical support posts.
- Measuring & Cutting the Vertical Posts: Whether you are using lumber or steel, you will then measure from each of those points to the ground, making sure you are measuring straight lines with a level. These measurements will tell you how tall your vertical support posts must be. Cut your materials and check that everything aligns.
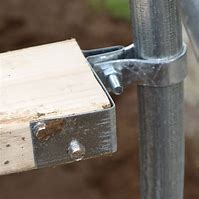
- Attaching the Vertical Post: Secure the vertical posts to the main frame using an End Wall Framing Bracket Adapter or a Twist End Connector and Brace Bands. Depending on your chosen material, you may use Nuts & Bolts & Self-Tapping Screws. Wrap around the arched frame and pinch the vertical post. Repeat as needed.
- Measuring & Marking the Frame Horizontally: Now that you have determined the vertical support post locations, consider horizontal connections. The horizontal rails will continue the main frame rails, but again, depending on the size of the greenhouse, you may not need as many end-wall rails. Mark 1-2 inches above or below the main frame hip rails on either side and measure across.
- Attaching the End Wall Rails: As mentioned, you may choose for the rails to lie flush with the vertical posts, in which case you will need to measure between each vertical post and between the vertical post and main frame. To connect the rails to the vertical posts, place screws or bolts through the rail and the post or use flat brackets. To connect the rails to the main frame, use an End Wall Framing Bracket Adapter, a Twist End Connector, and a Brace Bands. Secure the End Wall Framing Bracket Adapter or Twist End Connector to your rail with Self-Tapping screws. Place the brace band around the main frame and align the holes on the bracket adapter or twisted connector and brace band. Secure with a bolt and nut, as shown.
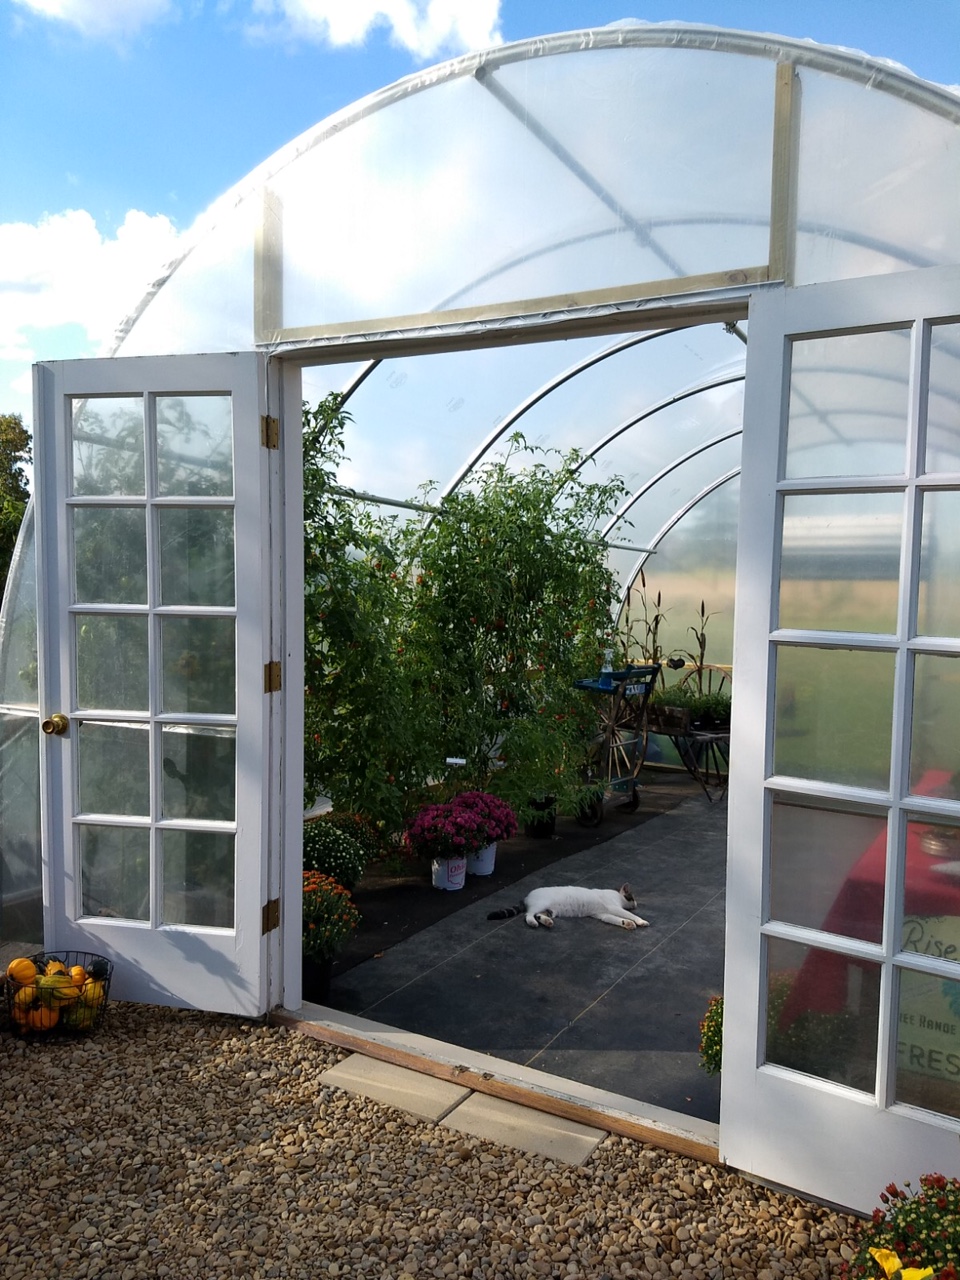
Installing a Greenhouse End Wall with a Door
Constructing the end wall with a door will require a few more steps. Note: Depending on the size of your greenhouse, the amount of material and the number of necessary steps may vary.
- Measuring & Marking the Frame Vertically: For larger greenhouses, you will want to add structural support on the closed-end wall. Locate the center of the arch. This can quickly be done if your greenhouse has a center top rail; otherwise, measure the distance between the two top rails and mark the center point. Measure 1.5 feet to the left and right of the center point on the main frame. This will be where your two vertical support posts that outline the door will meet the arch. You may measure extra for a wider doorway, but it may reduce the height. *For a larger greenhouse, you may continue marking 1.5 feet from the center point until you reach the hip rail. This allows for more vertical support posts.
- From here, you can repeat the steps for building a closed wall, but remember not to measure for rails between the vertical support posts that outline the door. See Steps 2-6 above.
- Constructing the Door: With the walls essentially assembled, you can add a top frame for your door between the center vertical posts. If you have a door, you would like to attach, that would be great! Attach to the vertical posts and add a top frame. If you do not make one, it is simple. Secure a top door frame between the center vertical posts and then measure the inside of the frame. Then, you can construct the door frame with your chosen material. Once you have the frame, we recommend measuring the inside of the frame and adding 1 or 2 horizontal rails.
- Now, you can attach your door with the necessary hinges, and we can look into how to add greenhouse plastic to the end wall.
*For a vent or fan system, create another framed area above the door between the vertical support post.
With the end walls built, you can then attach your greenhouse plastic film.
Attaching Greenhouse Plastic to the End Wall
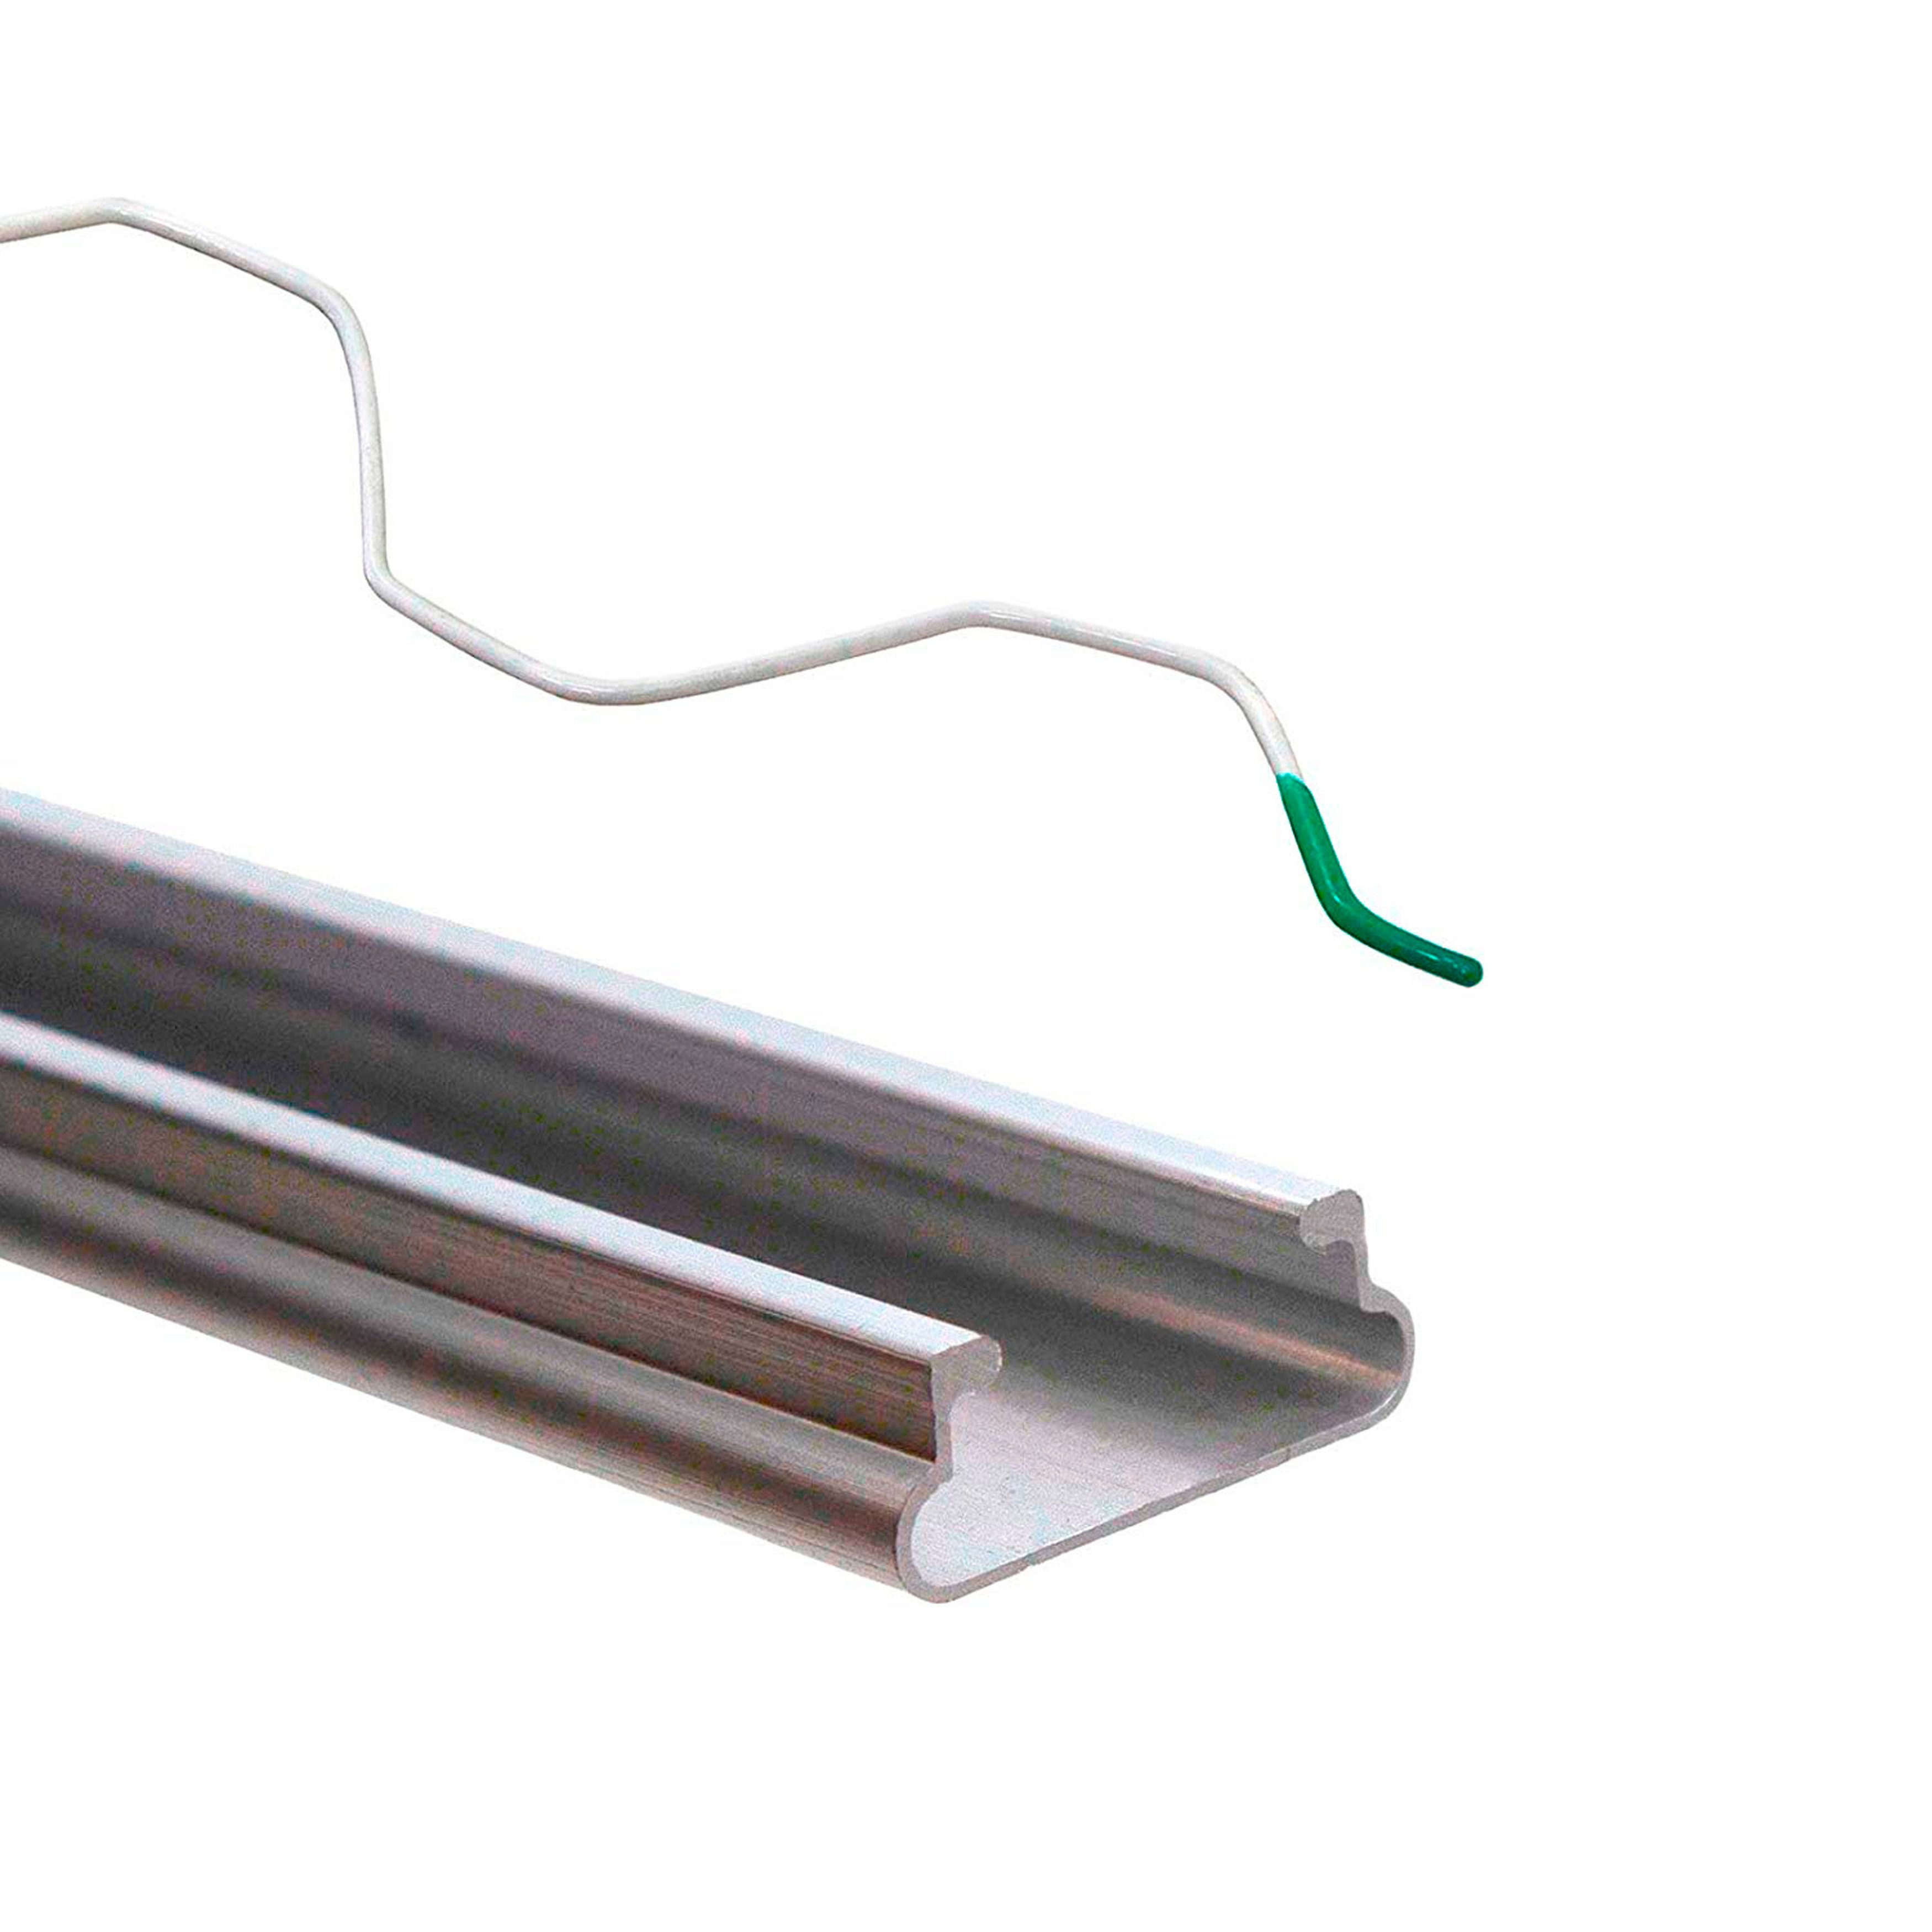
To attach greenhouse plastic to an end wall, whether it has a door or not, is simplified with Jiggly Greenhouse Jiggly Wire, Locking U-Channels, and Self-Tapping screws. Attach the locking U-channels on the exterior of the arched frame, oriented towards the sky and outward, using self-tapping screws. Attach locking U-channels to the frame for the end wall with a door and possible vent or fan system. If you choose to use greenhouse film for your door, you may also secure locking U-channels to the door. We recommend that you place all end wall locking U-channels on the exterior of the greenhouse. Then follow these instructions for attaching greenhouse film.
Roll Up Greenhouse End Wall Plastic
If you want your end walls to roll up, ensure that you have a horizontal rail across the end wall. Then secure your greenhouse plastic down to this rail along the frame and install a roll-up side system. Instructions and materials can be found here.
If you have further questions about materials, fittings, hardware, and tools, please get in touch with our sales representatives. If you want to explore more informational and instructional content, please visit our Resources Hub.
Contact Us