Build a DIY Hoop House: Step-by-Step Greenhouse Frame Installation Guide
Follow this step-by-step guide to construct a reliable hoop house using greenhouse frame fittings and covering materials designed for long-term durability. Whether you're building for backyard gardening or small-scale farming, this guide will walk you through every part of the process, from site prep to final covering, with product links to help you source exactly what you need.
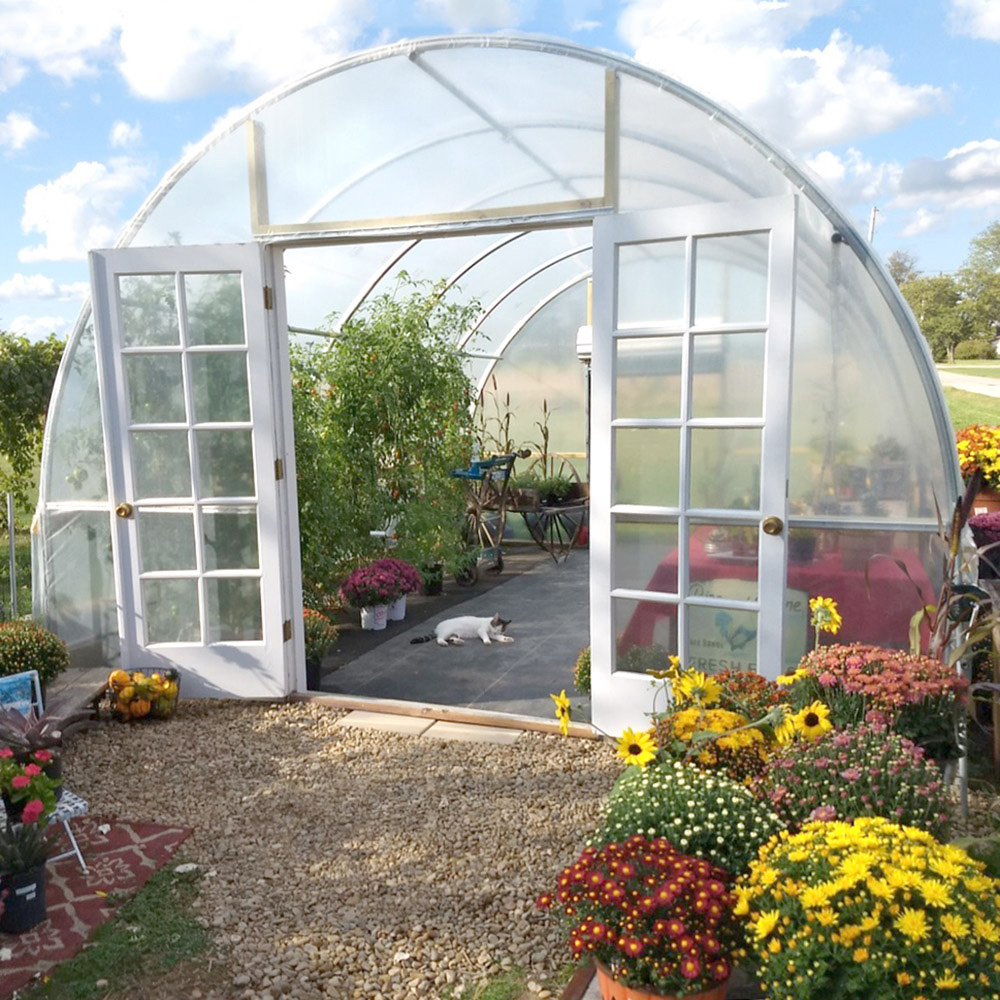
Step 1: Choose a Location and Finalize Your Design
Before installing any materials, it's important to carefully select your hoop house location and design. This will determine your layout, structural requirements, and covering options. A well-chosen site will maximize light exposure, simplify drainage, and ensure long-term stability.
Consider the Following:
- Sunlight: Choose a spot that receives full sun throughout the day, ideally oriented east to west to capture morning and afternoon light evenly.
- Drainage: Avoid low-lying or flood-prone areas. Select a slightly elevated or level site with good water runoff.
- Wind Exposure: Minimize direct exposure to strong winds or add natural windbreaks like shrubs, fencing, or buildings nearby.
- Access: Make sure there's room to maneuver wheelbarrows, irrigation systems, and tools comfortably around the structure.
Plan Your Hoop House Design:
- Decide on your hoop house width and length (common sizes range from 10-20 ft wide and 20-40 ft long).
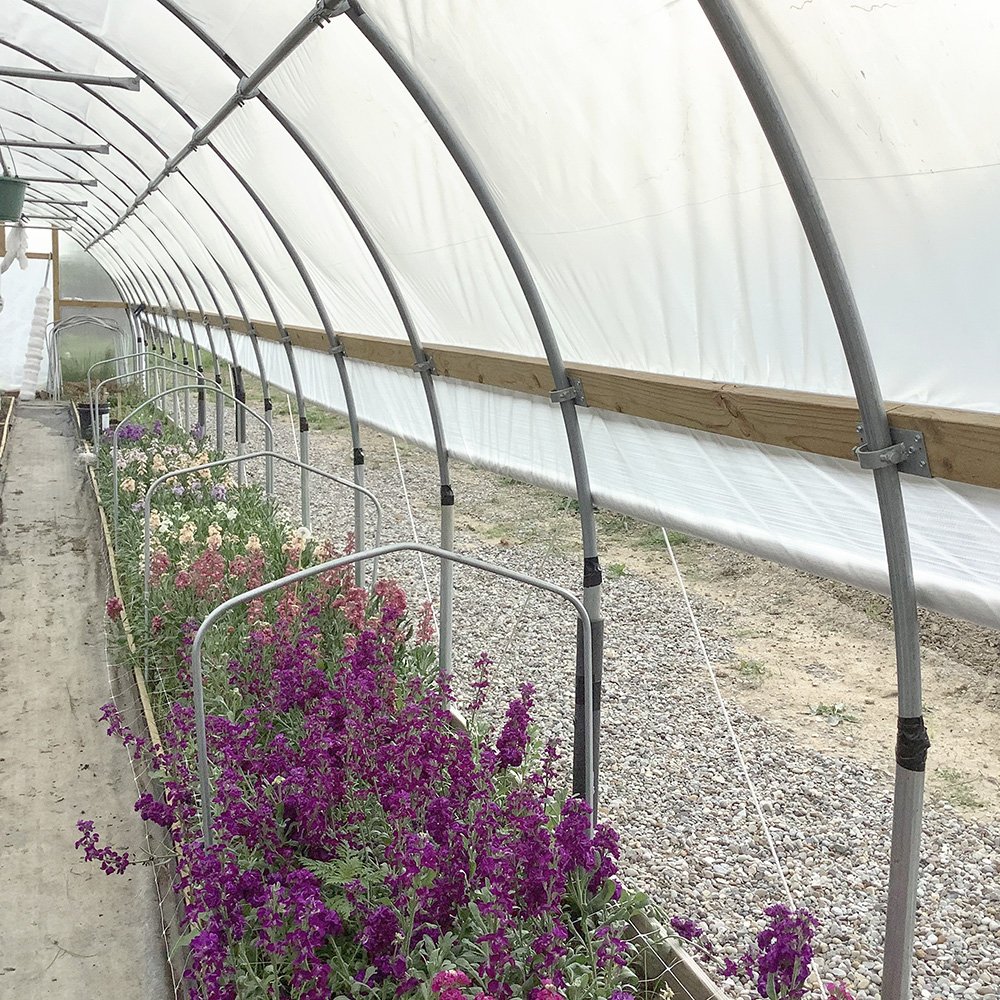
- Sketch a basic layout including entrance placement, ventilation (such as roll-up sides), and interior growing zones.
- Determine your post spacing (typically every 4 to 6 ft) and number of hoop sections needed.
Once your layout is finalized, you're ready to prepare the ground and gather your frame components. In the next step, we'll go over how to anchor your vertical supports and begin assembling your hoop arches.
Step 2: Install Ground Supports and Vertical Posts
With your layout marked and measurements finalized, it's time to install the base of your hoop house. The foundation starts with vertical posts, which form the anchor points for your hoops and horizontal rails. These must be plumb, level, and securely fastened to ensure a stable structure that can withstand wind and tension from the covering.
Choose Your Ground Support Method:
- In-Ground Post Sockets - Best for soil installations. These sleeves allow you to insert tubing directly into the ground without concrete, while keeping posts removable and reusable.
- Floor Flanges - Ideal for wood, concrete, or raised platforms. These flanges bolt down and accept upright tubing to create a sturdy base for your arches.
Install the Vertical Posts:
- Mark your post locations along both sides of the hoop house, spaced evenly (typically every 4 to 6 feet).
- If using post sockets, drive each socket into the ground with a mallet, ensuring they are level and aligned with string lines.
- If using flanges, mark and drill your holes, then bolt each flange securely to the base surface.
- Insert your Tubing into each anchor, checking that every post stands straight using a post level.
These vertical posts will serve as the structural spine for the arches and cross connections. Getting this step right ensures the entire frame builds evenly and holds up over time. Next, you'll attach your curved hoop sections and horizontal support rails.

Step 3: Assemble the Hoop Arches and Ridge Rails
Now that your vertical posts are installed and aligned, it's time to build out the rest of the frame. This includes forming your hoop arches, securing cross rails, and reinforcing the structure with bracing components. Each connection must be tight, aligned, and properly supported to create a strong greenhouse frame capable of supporting tension and wind forces.
Form the Hoop Arches:
- Use galvanized Tubing to create the curved roofline of your hoop house.
- You can either pre-bend tubing with a hoop bender or use factory-curved tubing where available.
- Slide each arch section into or over the top of your vertical posts, forming a continuous curve from one side to the other.
Connect and Secure with Fittings:
- Use End Rail Clamps and Line Rail Clamps to attach horizontal rails between hoops or along the frame base.
- For the top centerline (ridge rail), attach a continuous tube or overlapping sections using Cross Connectors and Purlin Brackets.
- Ensure every connection is tightened and aligned to maintain structural symmetry and reduce sway.
Reinforce the Frame:
- Use Brace Bands to add diagonal bracing at corners or between hoops for wind resistance.
- Tension Bands can be added around end sections to pull framing tight and reduce racking.
- Where different materials meet, such as wood framing to steel tubing, use Structural Fasteners & Adapters to join securely.
Secure with Hardware:
- Use Screws & Bolts to tighten all fittings and connectors, check every bolt for a firm hold without overtightening.
- Cap all open pipe ends with Pipe End Plugs to prevent water buildup, sharp edges, and debris intrusion.
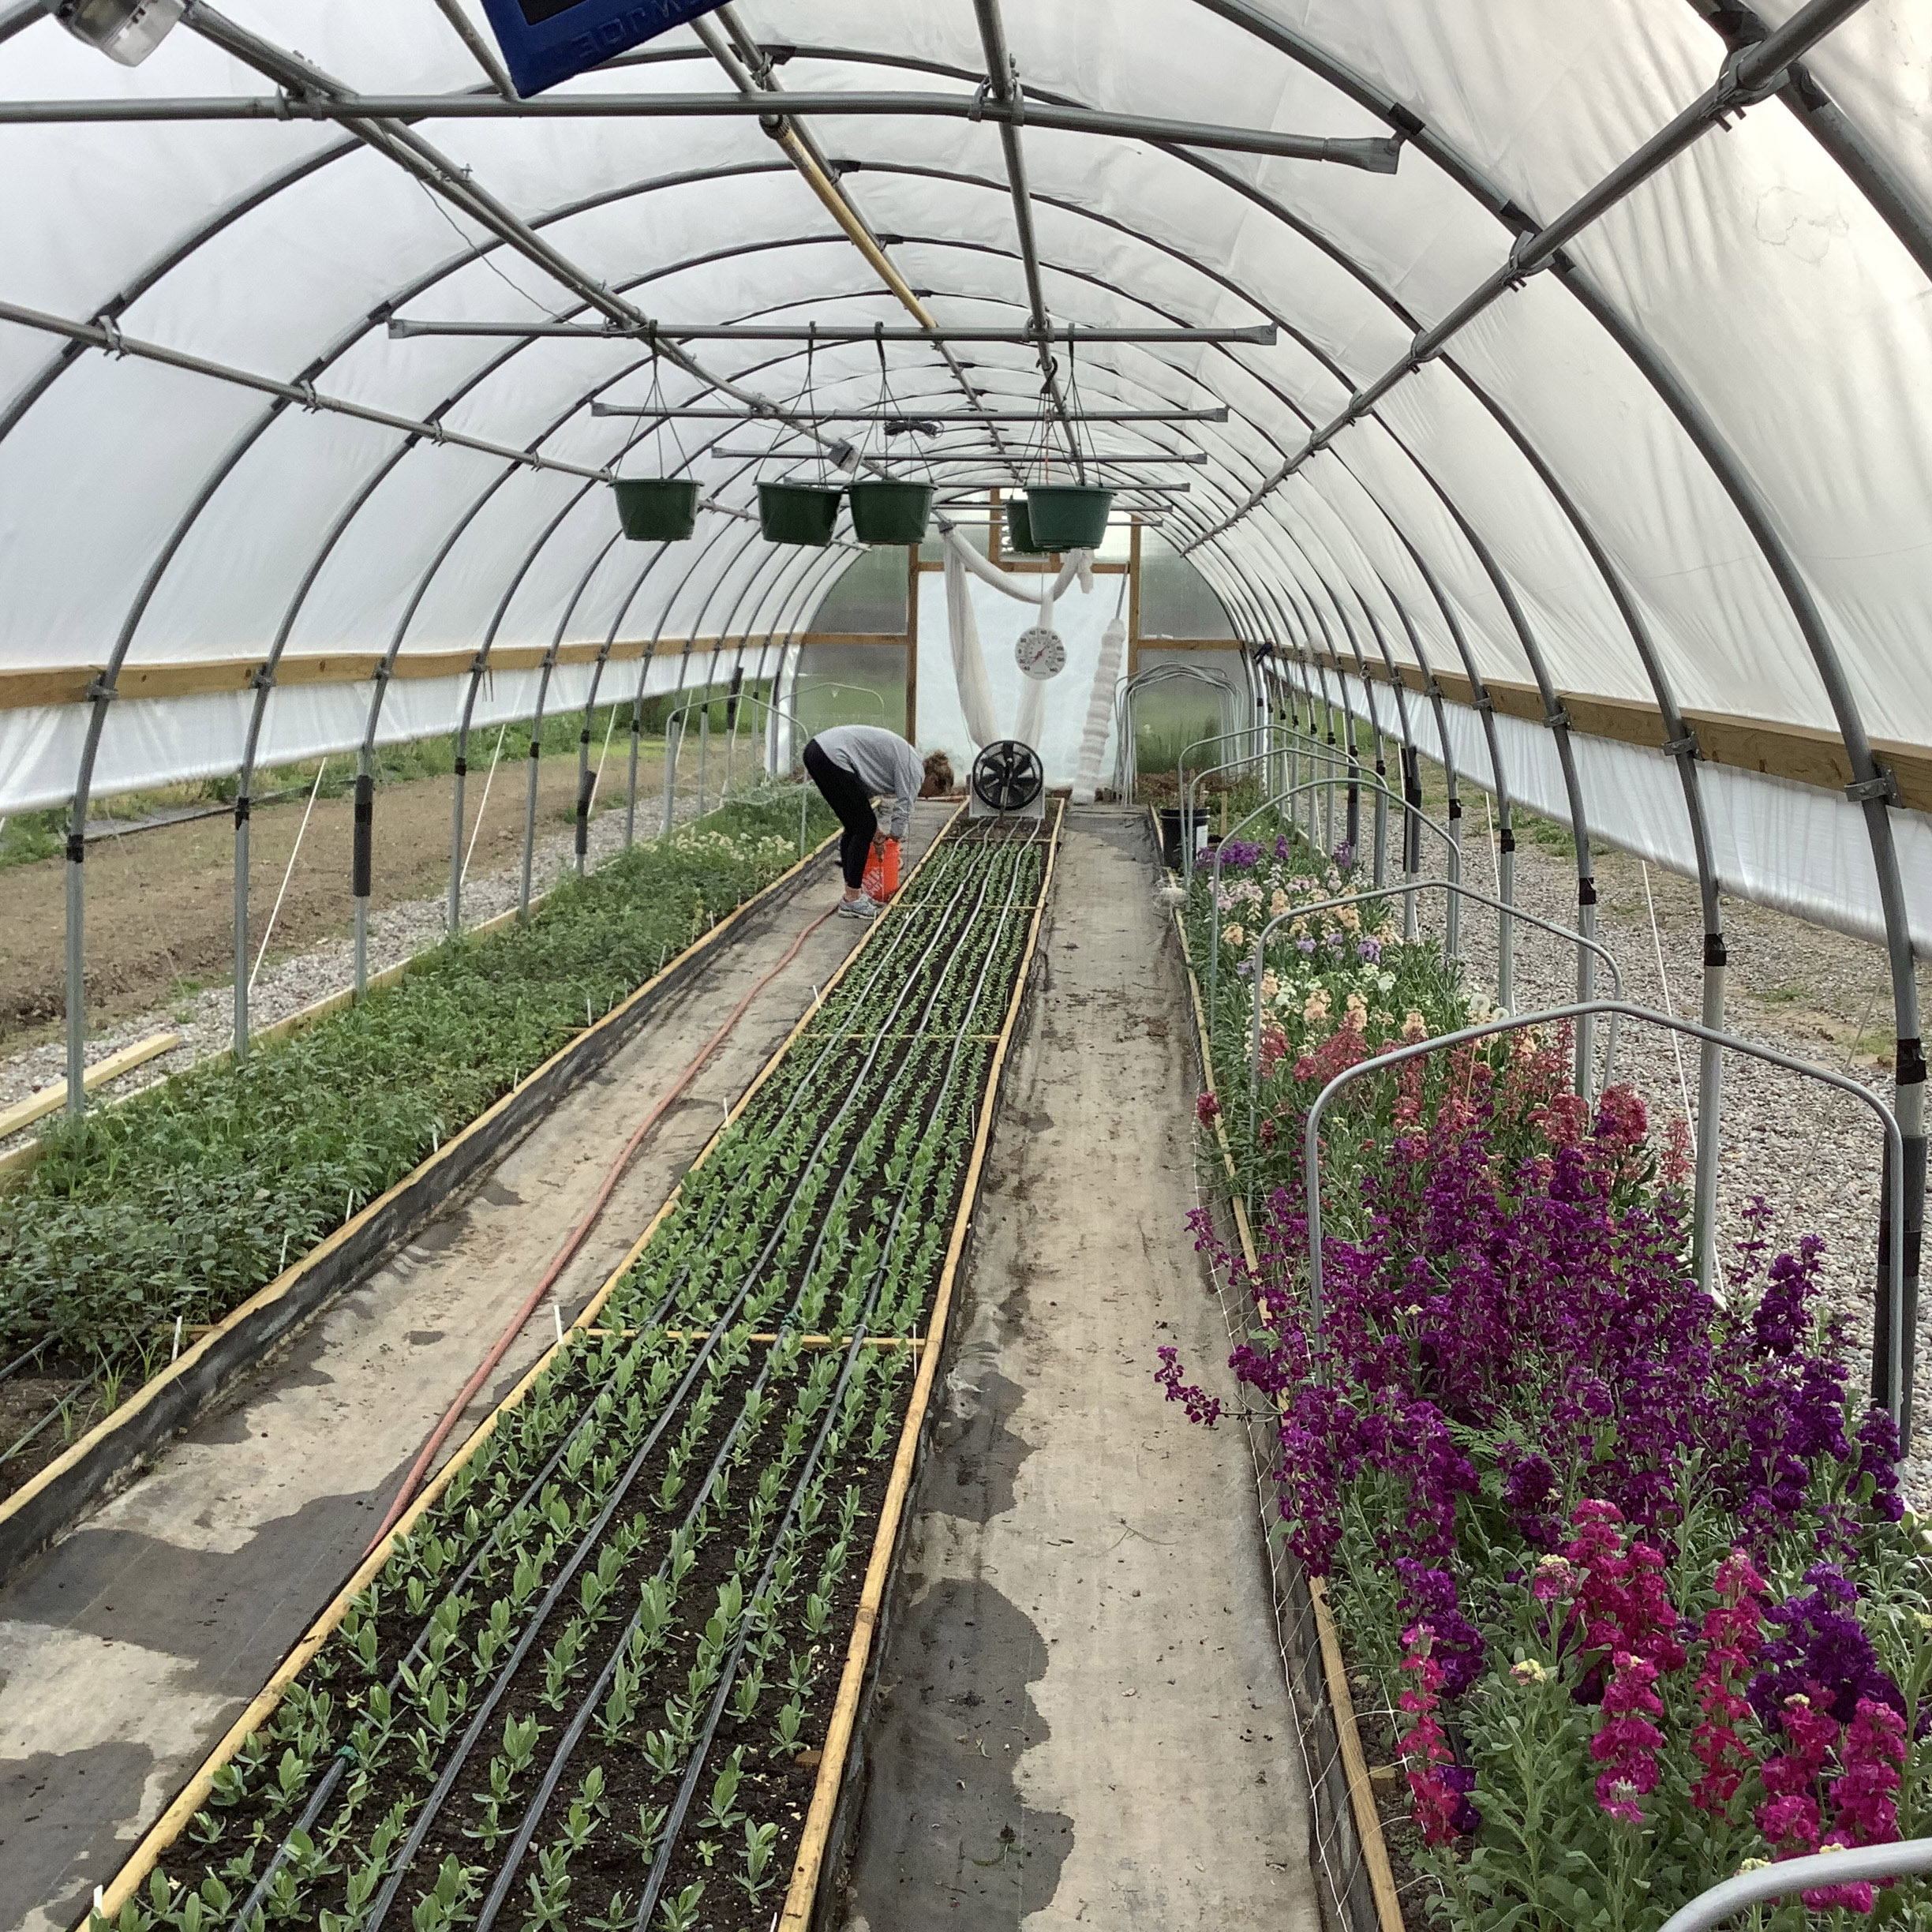
At this stage, your hoop house frame should resemble a fully arched tunnel, reinforced with horizontal rails and bracing at critical points. All components should feel tight and rigid. Now you're ready for the final stage, covering your structure to turn it into a functional growing environment.

Step 4: Install the Greenhouse Plastic and Secure the Covering
With your hoop house frame fully assembled and reinforced, the final step is to cover it with a protective greenhouse film. This layer traps heat, regulates moisture, and shields your plants from wind and rain. Proper installation is essential for maximizing the lifespan of the film and maintaining a stable environment inside.
Select Your Greenhouse Film:
- Use UV-treated Plastic Grow Film designed specifically for greenhouses, it lasts longer and resists cracking or yellowing.
- Common thicknesses include 6 mil and 8 mil; choose based on your local weather conditions and desired durability.
- Film width should exceed the width of your hoop house to allow for anchoring along the sides.
Install the Plastic Covering:
- Lay the plastic over the top of your hoop frame on a calm, warm day to reduce wrinkling and sagging.
- Start by centering the film lengthwise over the ridge of the structure, then unfold it down each side evenly.
- Use clamps or temporary clips to hold the plastic in place while you secure it permanently.
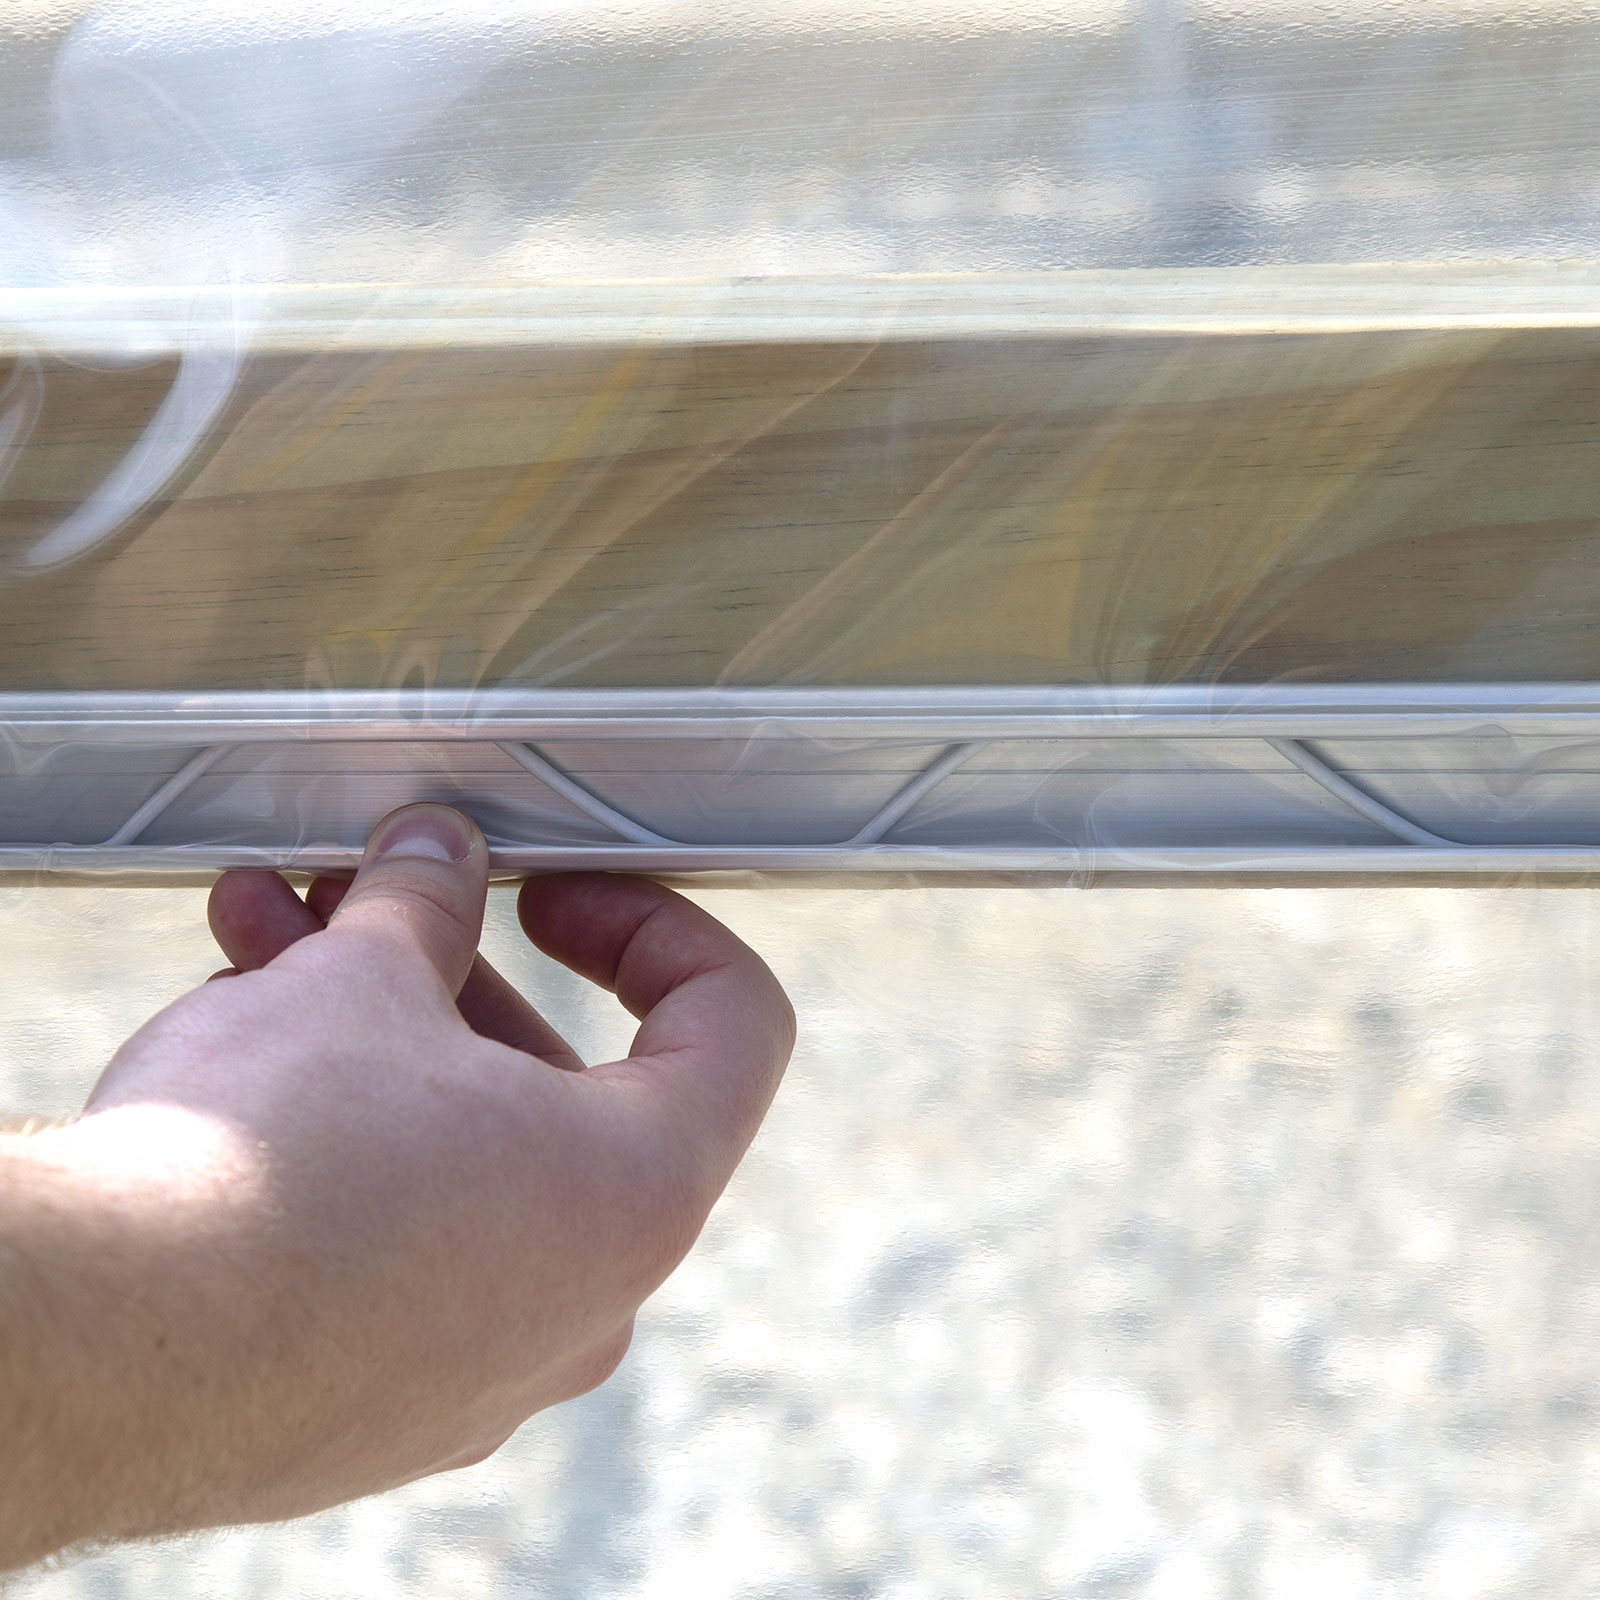
Secure the Cover with Attachments:
- Use Covering Attachments like spring wire and channel systems, batten tape, or snap clamps to fasten the film to your frame.
- Work from the center outward to avoid stretching or tearing the plastic unevenly.
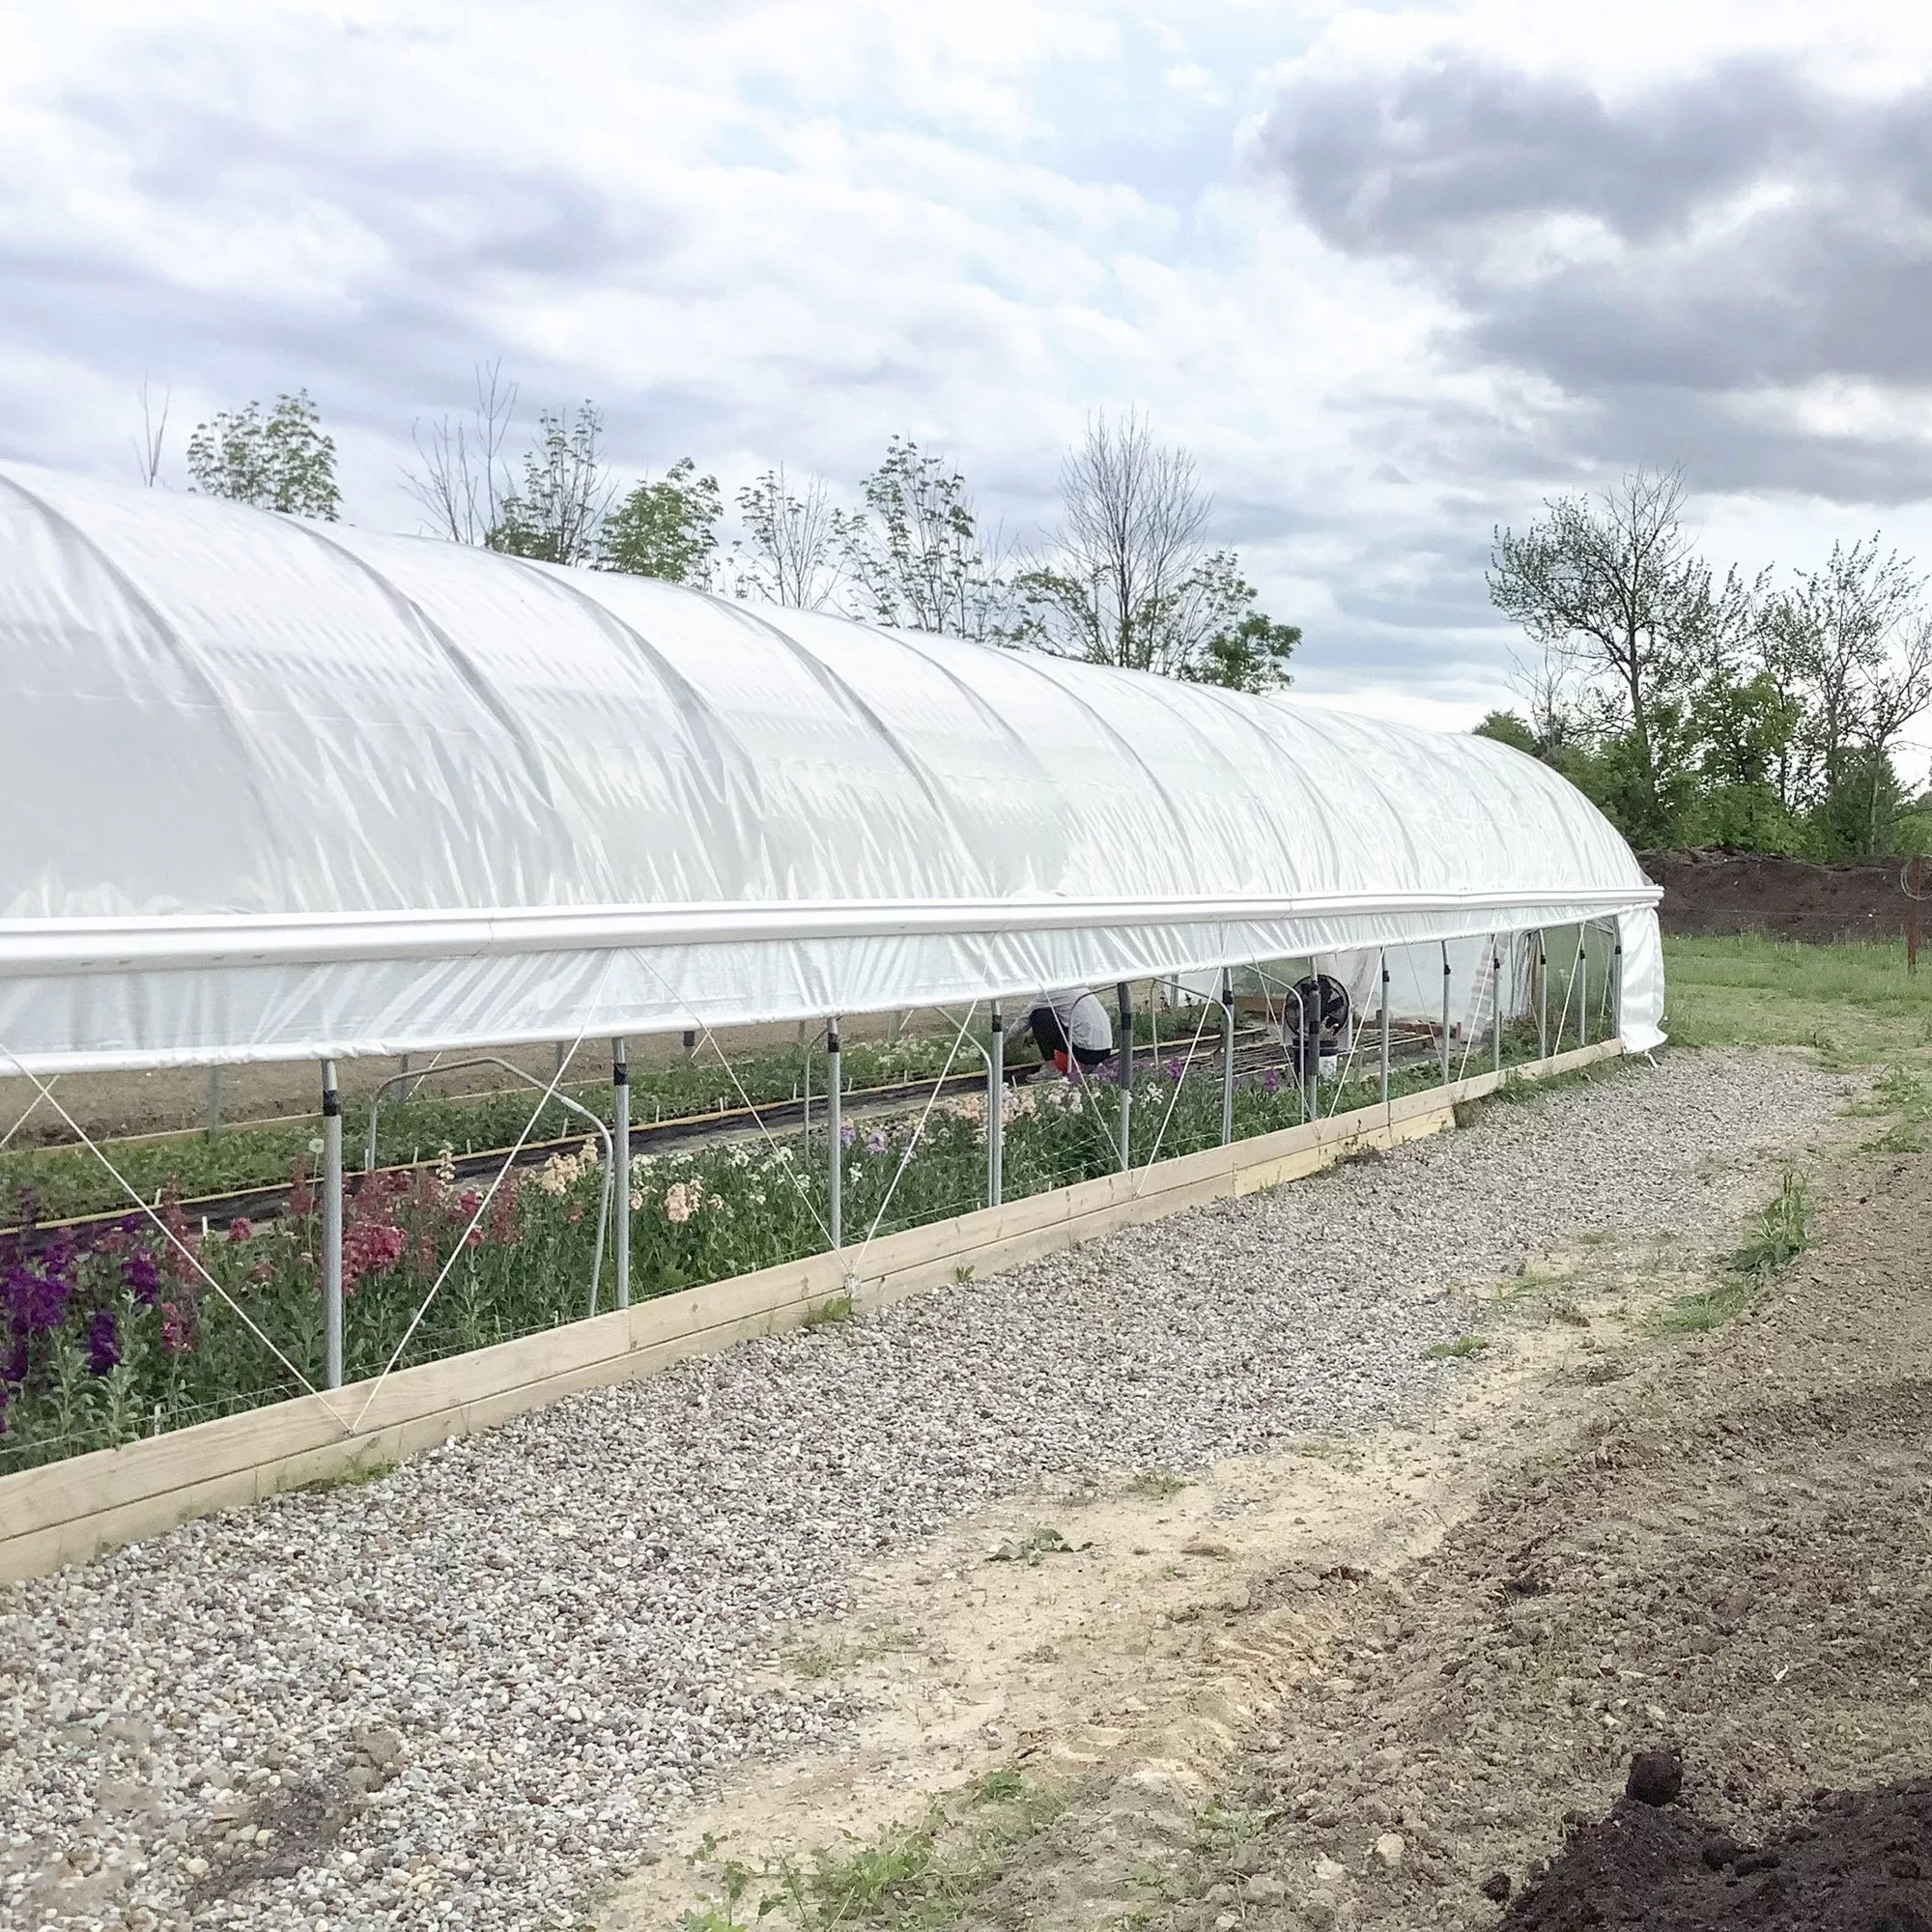
- For added wind protection, bury the bottom edges in shallow trenches or anchor them with landscape staples and boards.
Once the covering is in place, double-check all clamps, edges, and tension points to make sure nothing is loose. A properly secured film not only protects your plants but extends the life of your structure. You now have a fully functioning hoop house, ready for planting, propagation, or year-round growing!

Hoop House Assembly Recap
Building your own hoop house is a manageable, rewarding project when you follow the right steps and use dependable materials. Here's a quick summary of the process:
- Step 1: Choose a sunny, well-drained location and design a layout that suits your growing goals.
- Step 2: Install ground supports and vertical posts using In-Ground Post Sockets or Floor Flanges and Tubing.
- Step 3: Assemble hoop arches and cross rails using clamps, brackets, adapters, brace bands, tension bands, and screws.
- Step 4: Install greenhouse plastic and fasten it securely with covering attachments to create a fully enclosed growing space.
Whether you're starting your first greenhouse or expanding a growing operation, this guide is designed to give you everything you need to succeed, step by step, part by part.
If you have any questions about products, sizing, or installation, please don't hesitate to reach out to our team. We're here to help you build with confidence!
Resources Hub Contact Us