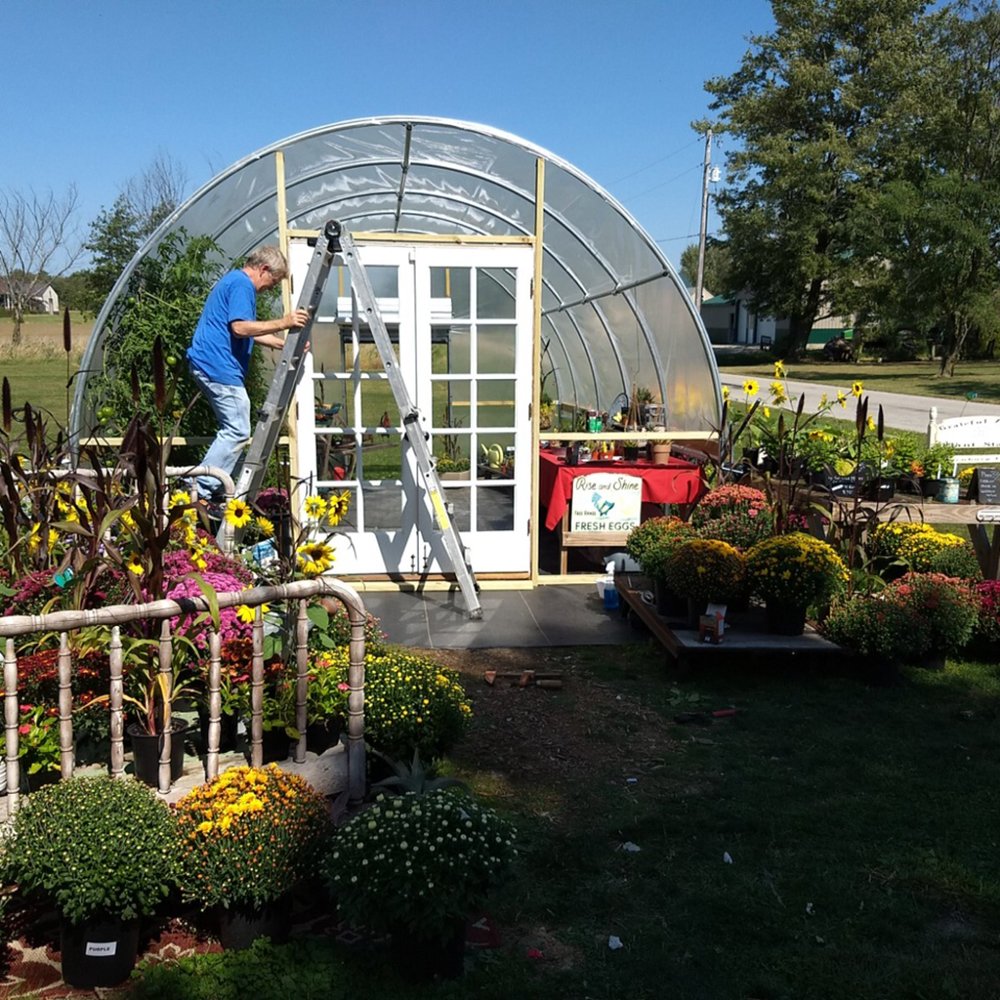
So, you have decided to DIY your own greenhouse. Having your own greenhouse is a great way to extend the life of your garden. No longer be confined to just having the option to grow your produce and flowers during the summer. With a greenhouse, you have the freedom to keep your plants thriving year-round.
Having your own hoop house is no small feat; there is a lot to consider and do to ensure you are building a structure that is made to last as well as fits your specifications. We have broken down everything you need to do to make the best greenhouse into easy-to-follow steps to make the process easier.
Why Build A Greenhouse?
There are many benefits to having your own greenhouse. For one, growing your own food year-round is a great resource. You can have peace of mind that your family has access to fresh fruits and veggies without the need to ever go to the store. Growing your own food in your very own hoop house can also be very cost-effective. After the initial investment in building materials, seeds, and other growing accessories, you can be self-reliant on where some of the food you consume comes from.
Aside from the cost benefits and self-reliance, many people find it to be a fulfilling and relaxing hobby. There are a lot of perks from working with your hands and receiving the rewards of growing something from just a seed.
How To Choose The Best Spot For Your Greenhouse
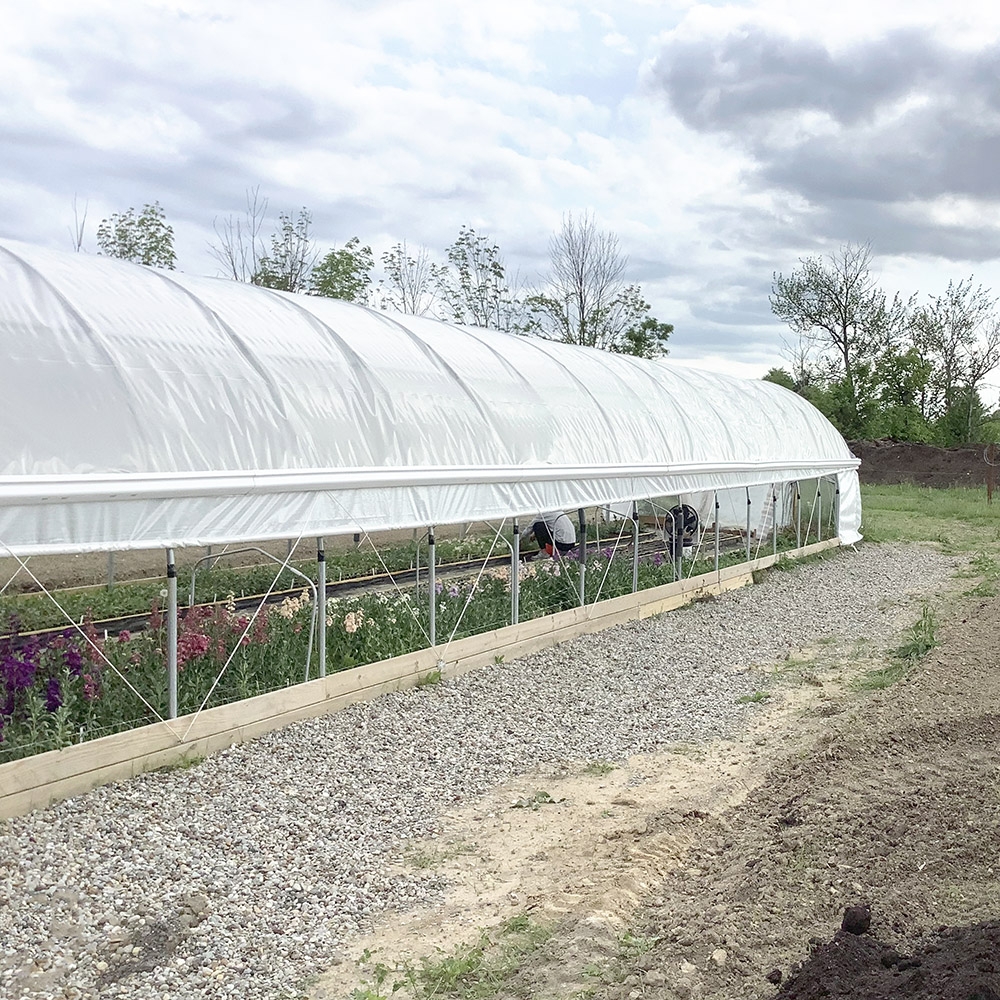
Every great structure starts with a good base, and a greenhouse is no different. Since greenhouses or hoop houses are only temporary structures with no foundation, it is imperative that a reliable location is chosen to build one. If built on shifting or unstable soil, your greenhouse will likely collapse or need costly repairs. By selecting the ideal spot, you increase the likelihood of being able to use your greenhouse all year round.
For the best results, your greenhouse should be placed in an area that receives plenty of sunshine all year round. It is best to avoid areas that are close to other structures and trees, as this can lead to vital sunlight being blocked. Once you have found a nice sunny spot, it is time to find a flat surface that is not prone to high winds or may flood during heavy rains. If your location is prone to heavy rains and the soil often retains a lot of moisture, there are some steps you can take to help make the area more conducive to hosting a greenhouse structure. To prevent water from sitting in one area, we recommend that you build a pitch to allow water to flow away from the spot and maintain a solid base for your hoop house.
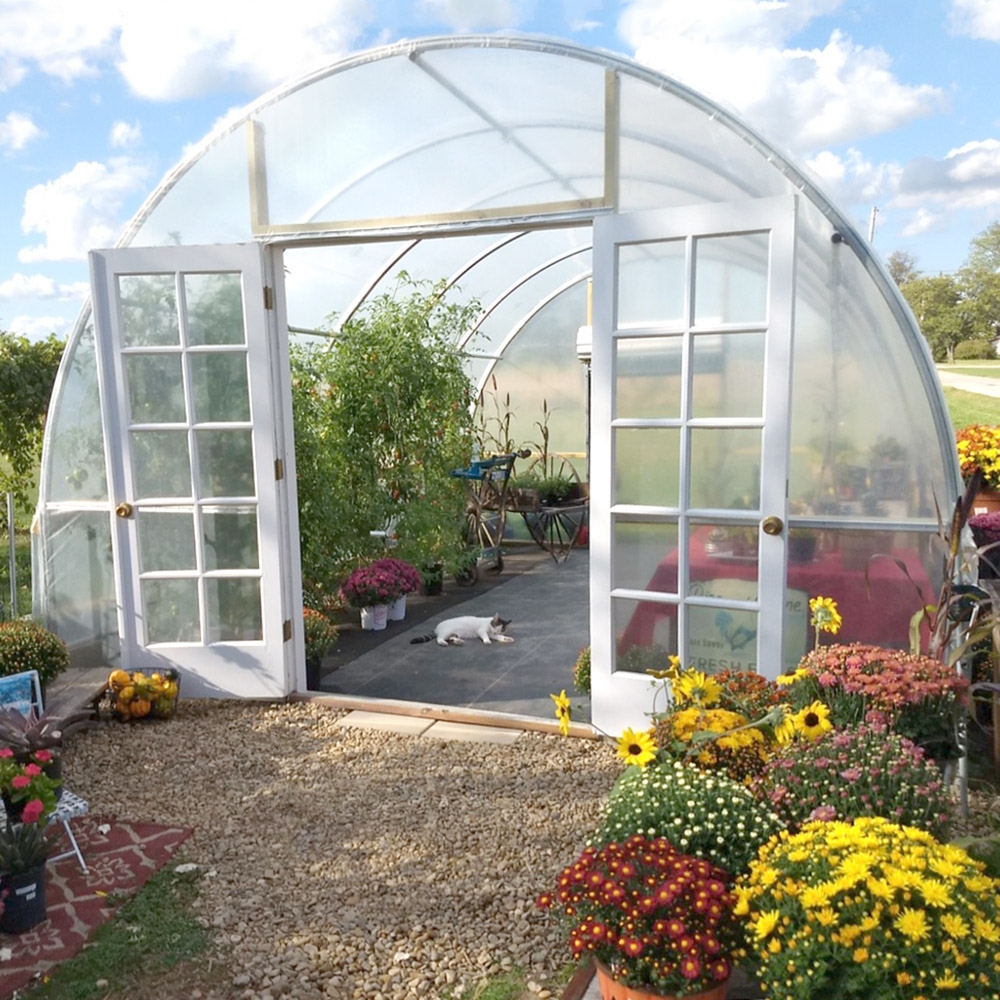
What Size Is Right For You?
Once you have found the perfect spot for your greenhouse, it is time to decide on how big or small you would like it to be. This will all depend on the space you have to build it and how many plants you want to grow. Whether you are a novice or an expert gardener, we have just what you need to create the hoop house that best meets your needs.
We offer a variety of DIY Greenhouse Kits that provide you with everything you need to build your dream greenhouse. However, if the sizes of those kits are not what you are looking for, we offer all the materials to customize the greenhouse you envision, as well as extra accessories to keep your greenhouse running smoothly once it is officially built.
Materials You Will Need
After you have found the perfect spot and decided on what size you want your hoop house to be next comes getting all the parts needed to assemble it. All our greenhouse parts are made from high-quality and durable materials that a designed to endure even the harshest of weather conditions to provide you with the greenhouse you deserve.
To build your dream greenhouse, these are the materials you will need:
Depending on the size of your greenhouse will determine what size and how much material you will need. As mentioned before, we do carry DIY Greenhouse Kits in a range of different sizes that help to take the guesswork out of what you need. These kits are a budget-friendly way to achieve the greenhouse you are looking for with little to no headache.
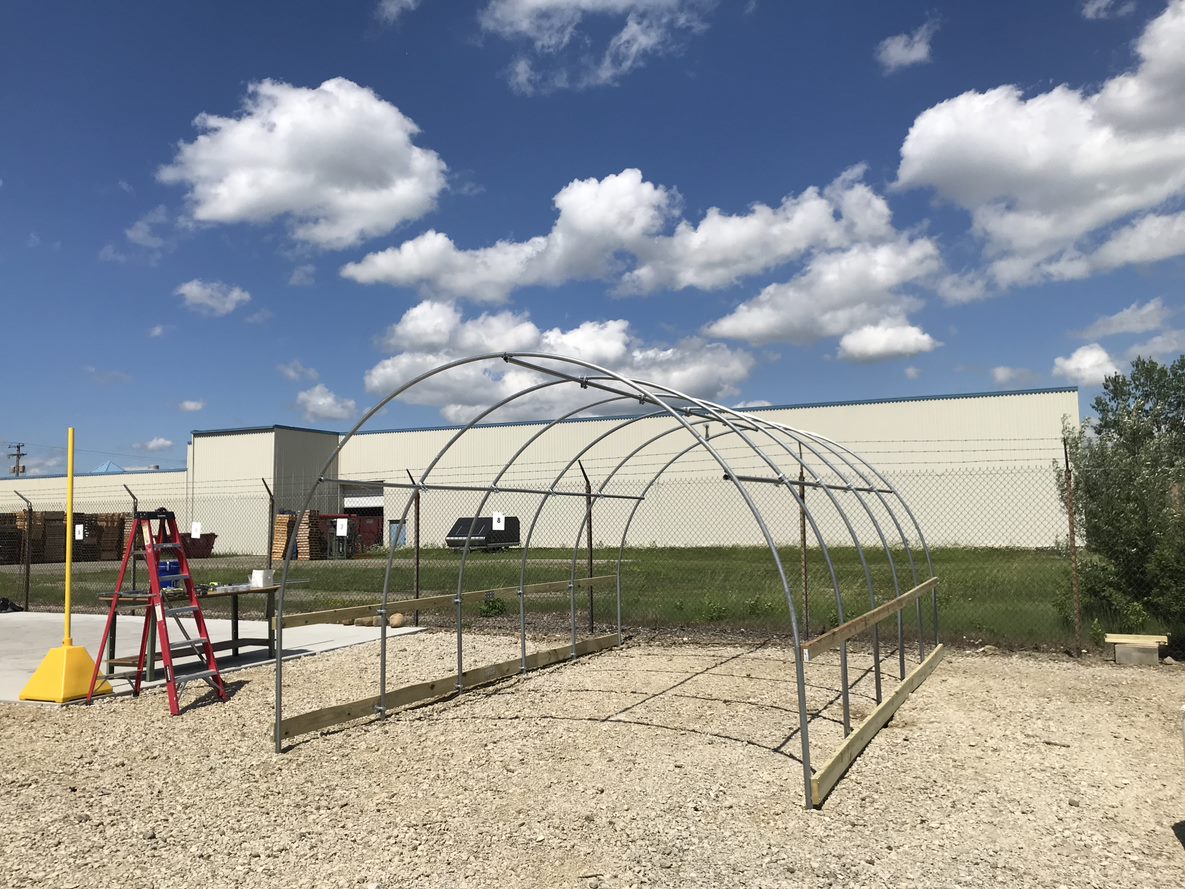
Assembling Your Greenhouse
Now that you have found the right spot and bought all the needed materials for the structure, it is time to assemble your greenhouse. If you look online, there are a million and one ways to assemble a hoop house. Below is a rough outline of how to assemble your hoop house, but feel free to make modifications where needed to create a greenhouse that will work best for you.
Instructions:
- Mark where your supporting poles go in the ground.
- Pound your supporting poles into the ground with a pipe pounder.
- Attached wood-to-steel adapters to those poles.
- Attached “hoop” poles to your structural poles.
- Secure “hoop” poles to your structure with wood-to-steel adapters.
- Then begin installing purlin brackets.
- Insert the top brace pole into the purlin brackets.
- Once the top brace is installed, begin installing side purlin brackets for your side brace.
- These purlin brackets should be installed 12” from the top of the arch.
- Insert the side brace poles into the purlin brackets.
- Attach wood planks to the wood-to-steel adapters using tapping screws.
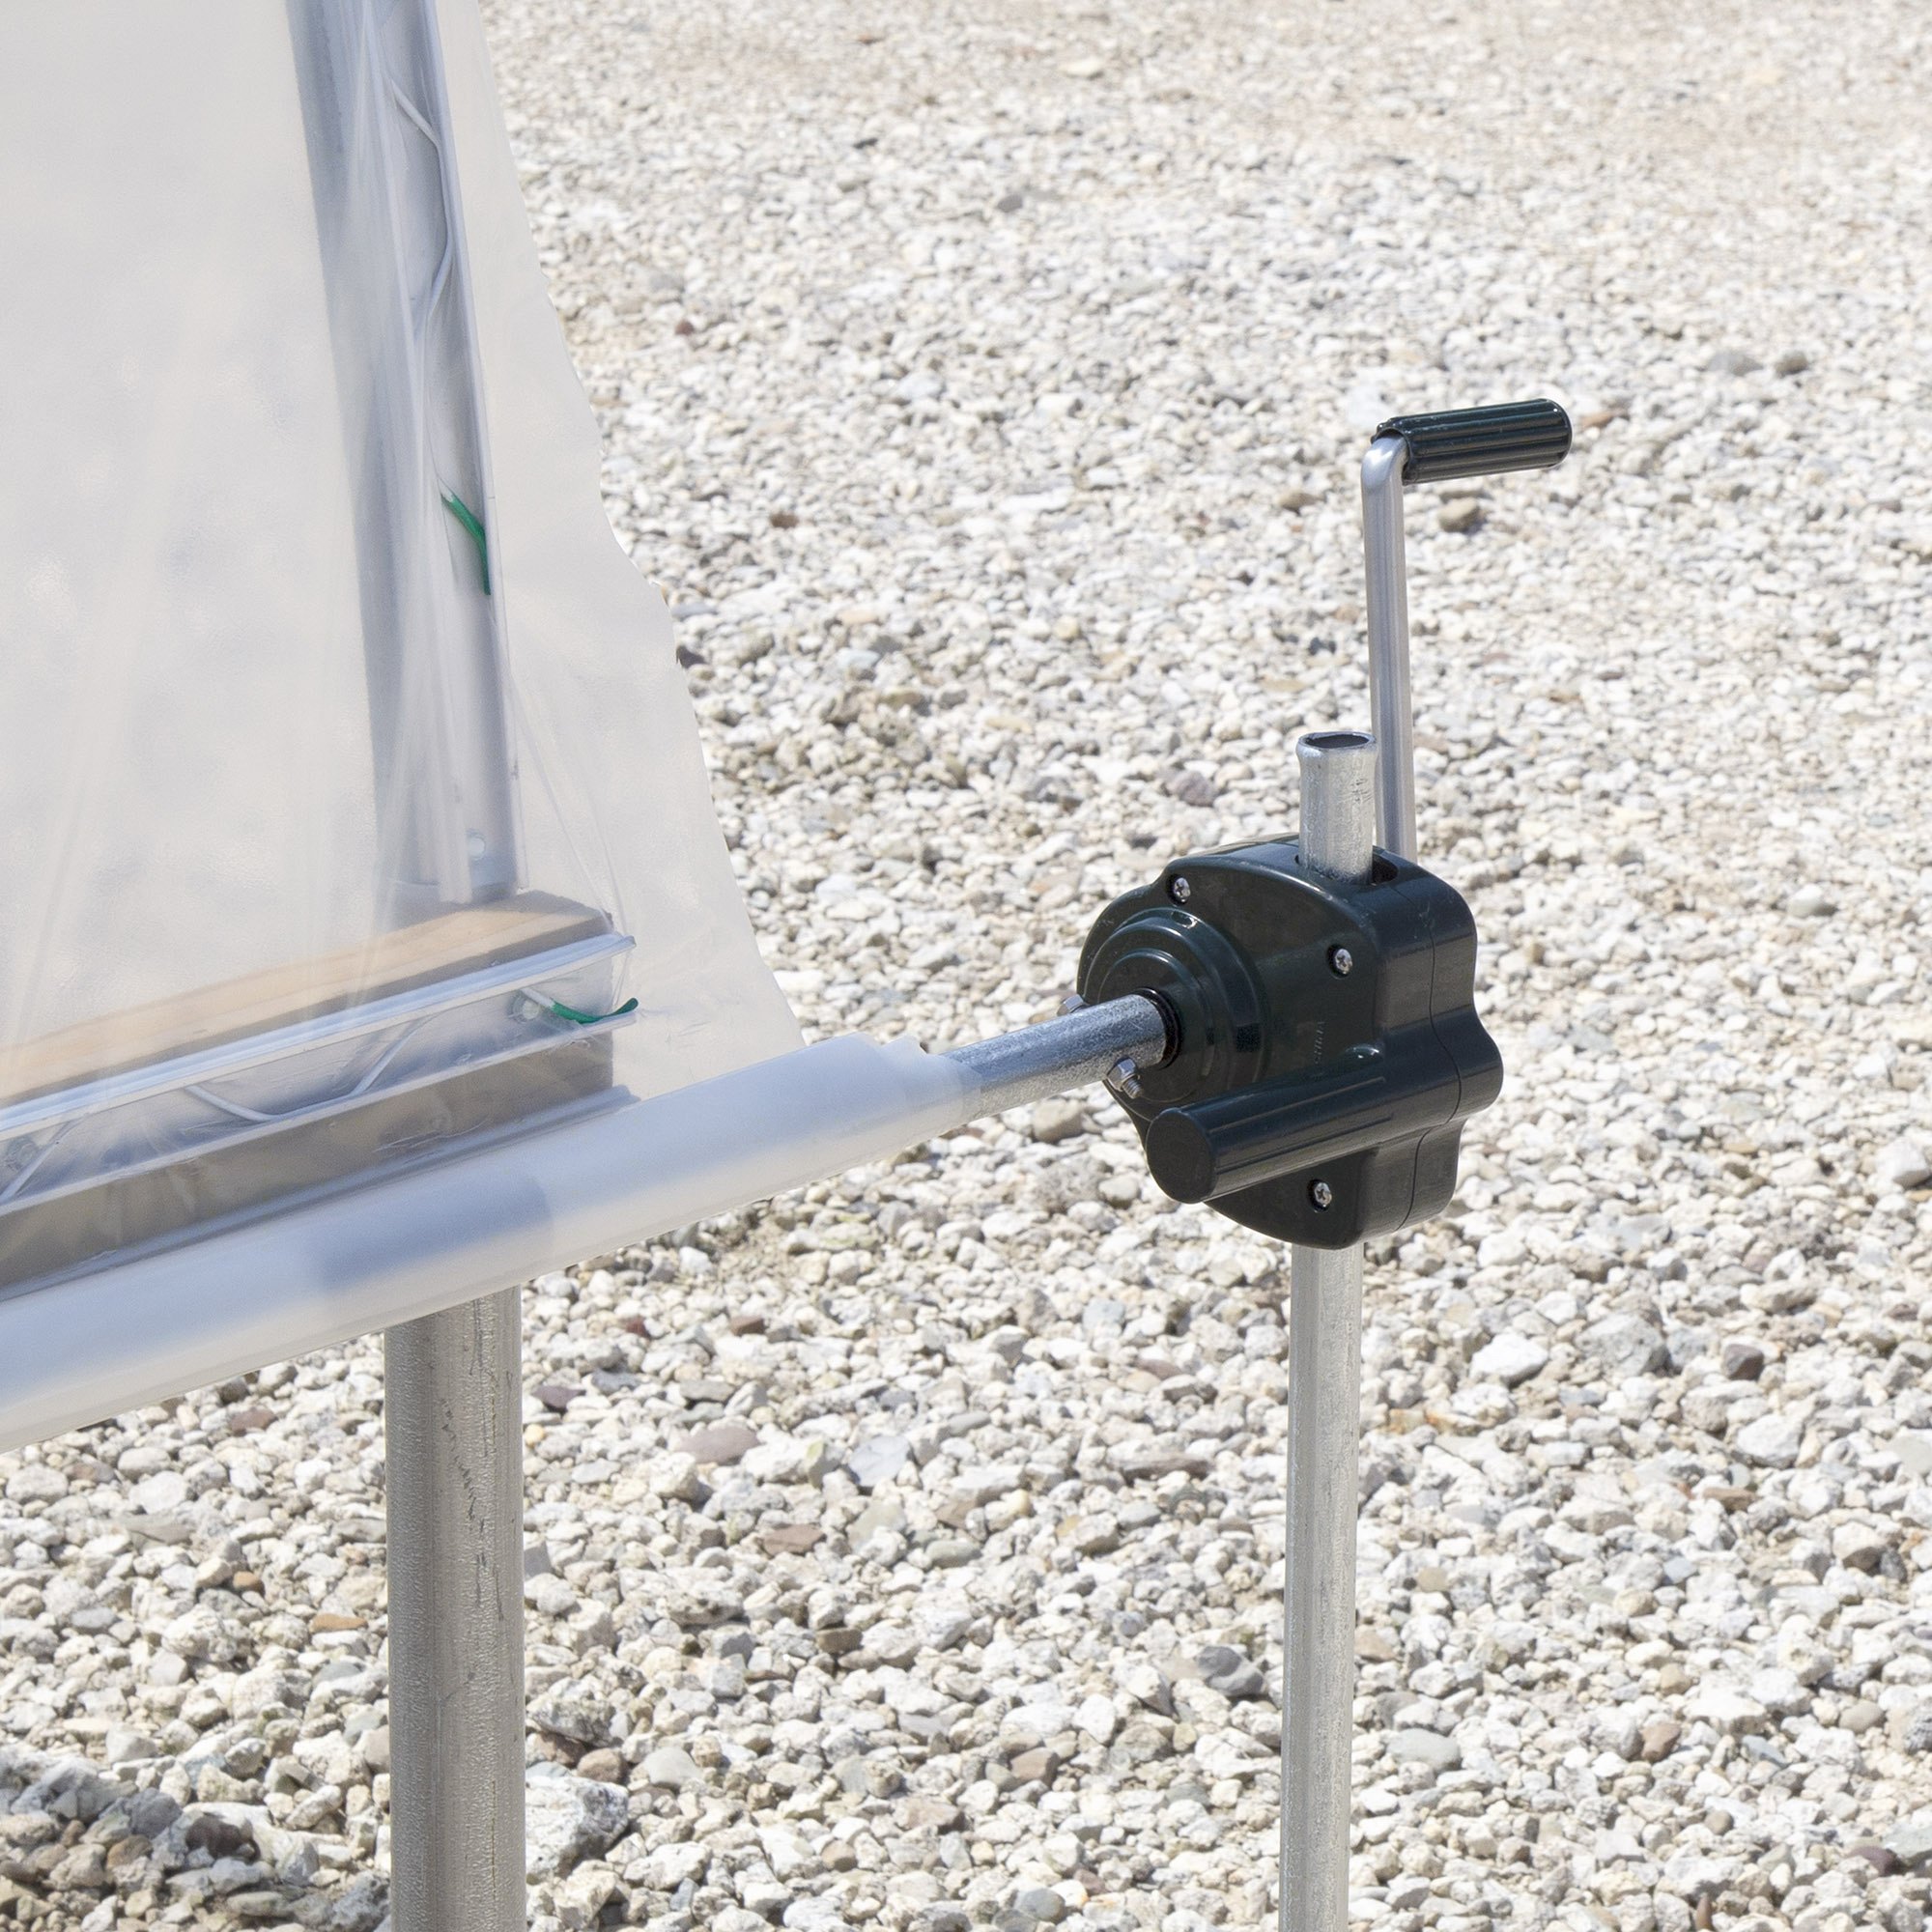
- After the wood is attached, secure your channel to the wood with tapping screws.
- You can then attach your film. Learn More On How To Attach Greenhouse Grow Film
- Your greenhouse is now complete.