How to Install and Use the Greenhouse Manual Ventilation Crank
How To Install The Jiggly Greenhouse® MRUP300 Manual Sidewall Ventilation Hand Crank
Tools Needed For Installation:
- Mallet
- Adjustable Wrench
- Drill With 1/4” Drill Bit
- 4-8 ft. Piece of 3/4" EMT Conduit
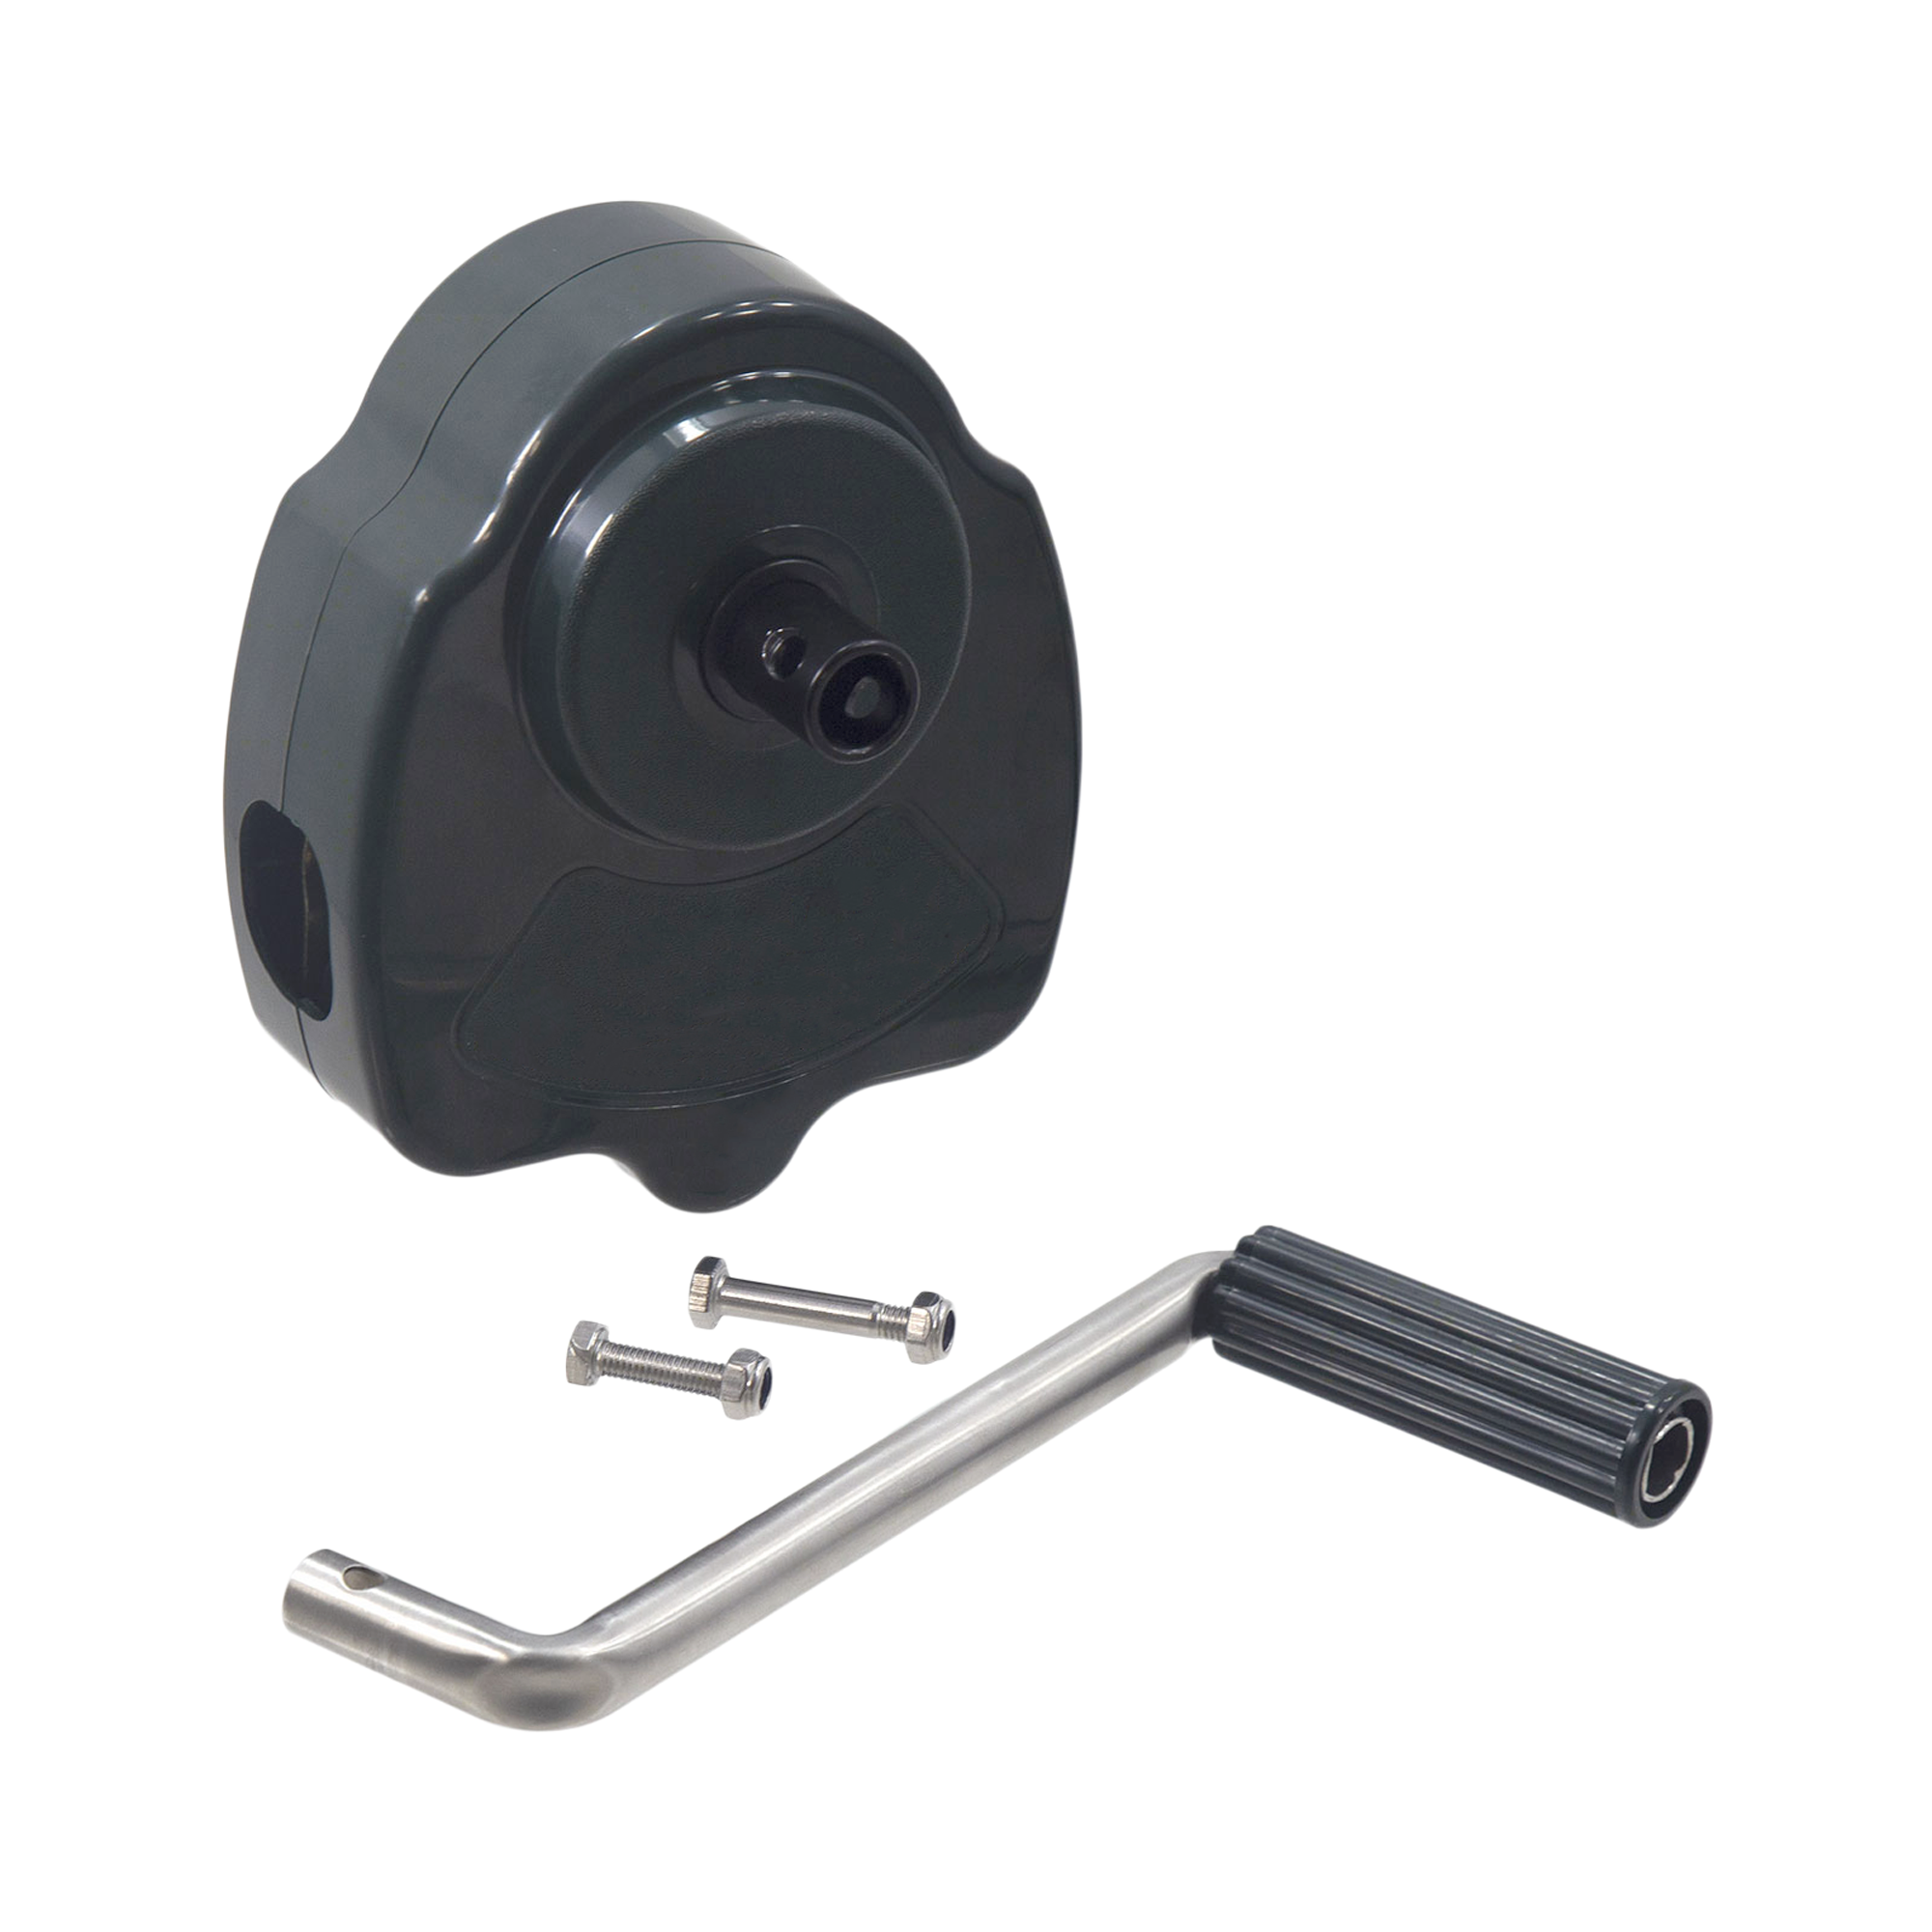
Included MRUP300 Parts:
- Crank Body
- Crank Handle
- Bolt & Nut For Handle
- Bolt & Nut For EMT Conduit Connection
*These instructions begin with the assumption that your EMT conduit runs the length of your greenhouse and has been secured to your plastic film using plastic clamps. Additionally, the sidewall and upright EMT conduit should be aligned where the crank will be installed.
For use with 3/4" EMT conduit only.
Step 1:
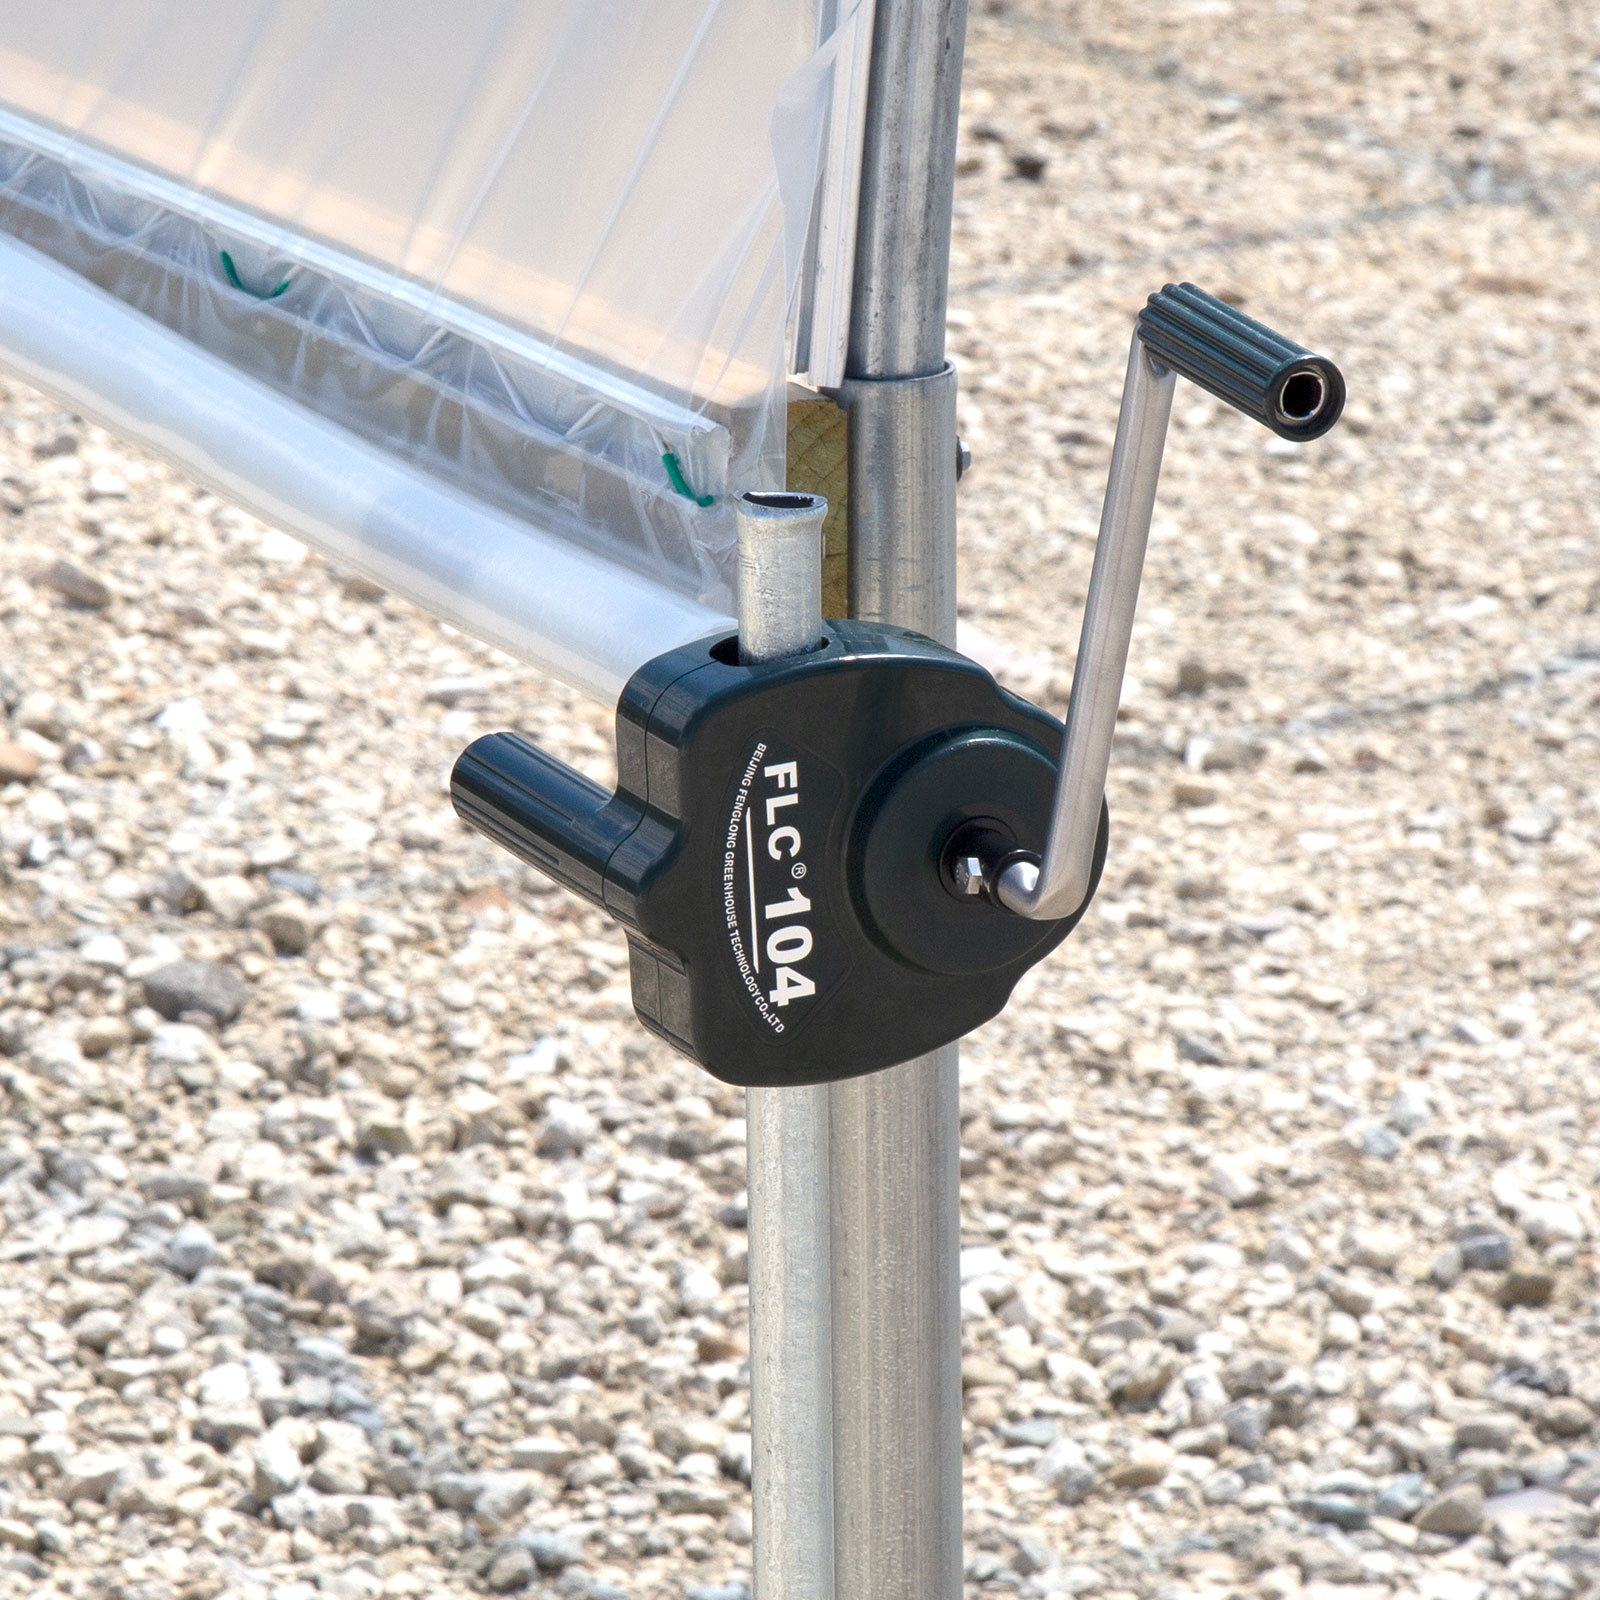
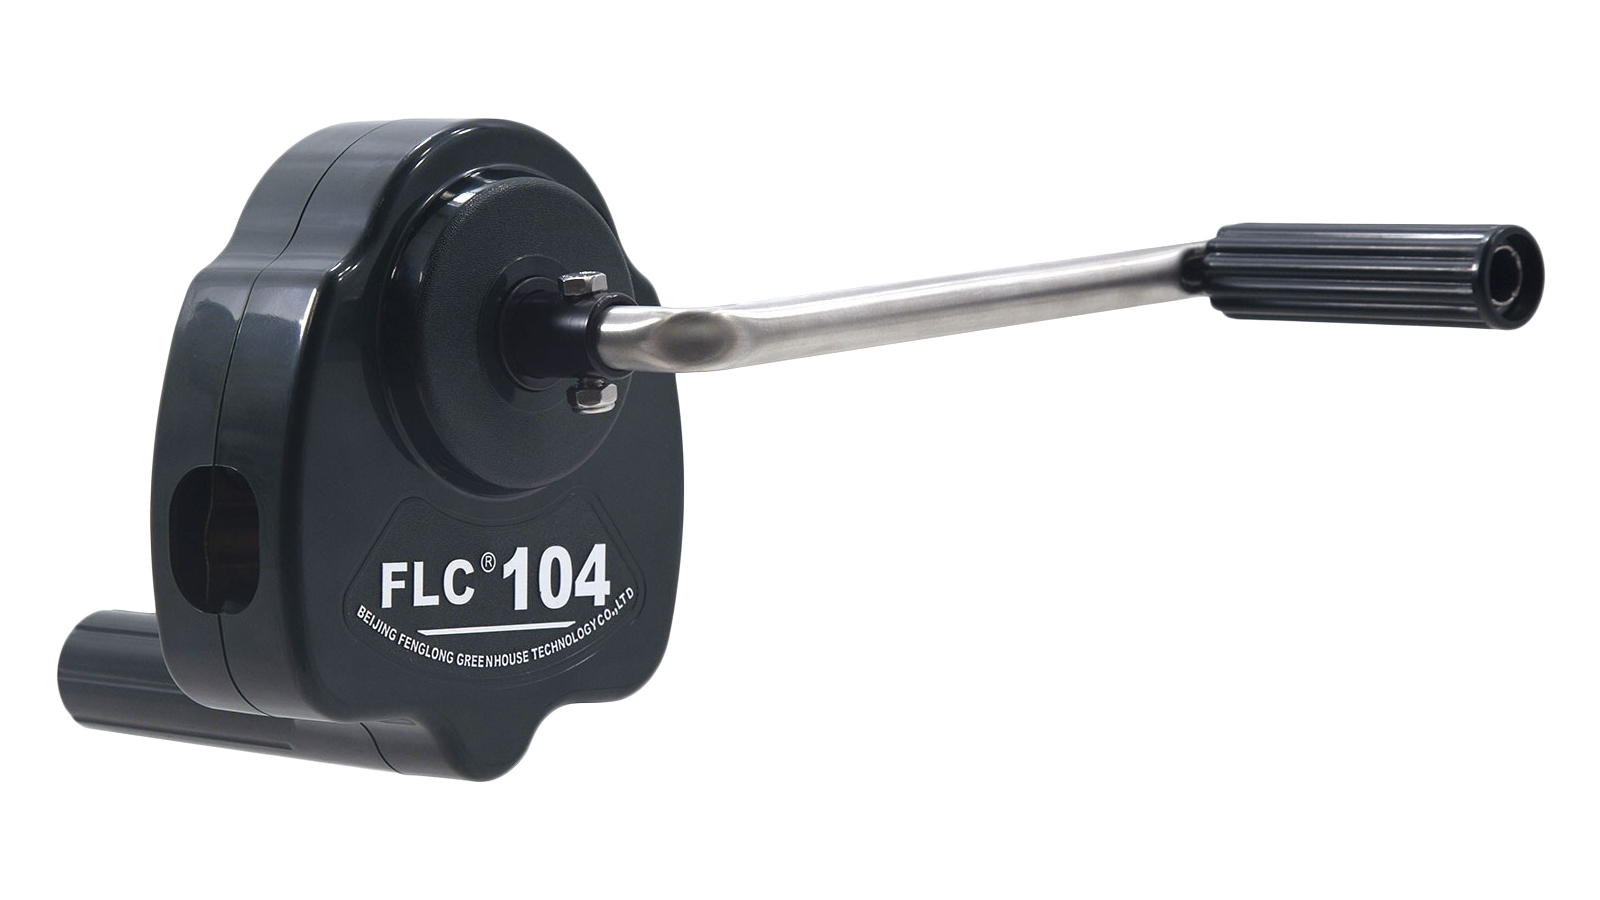
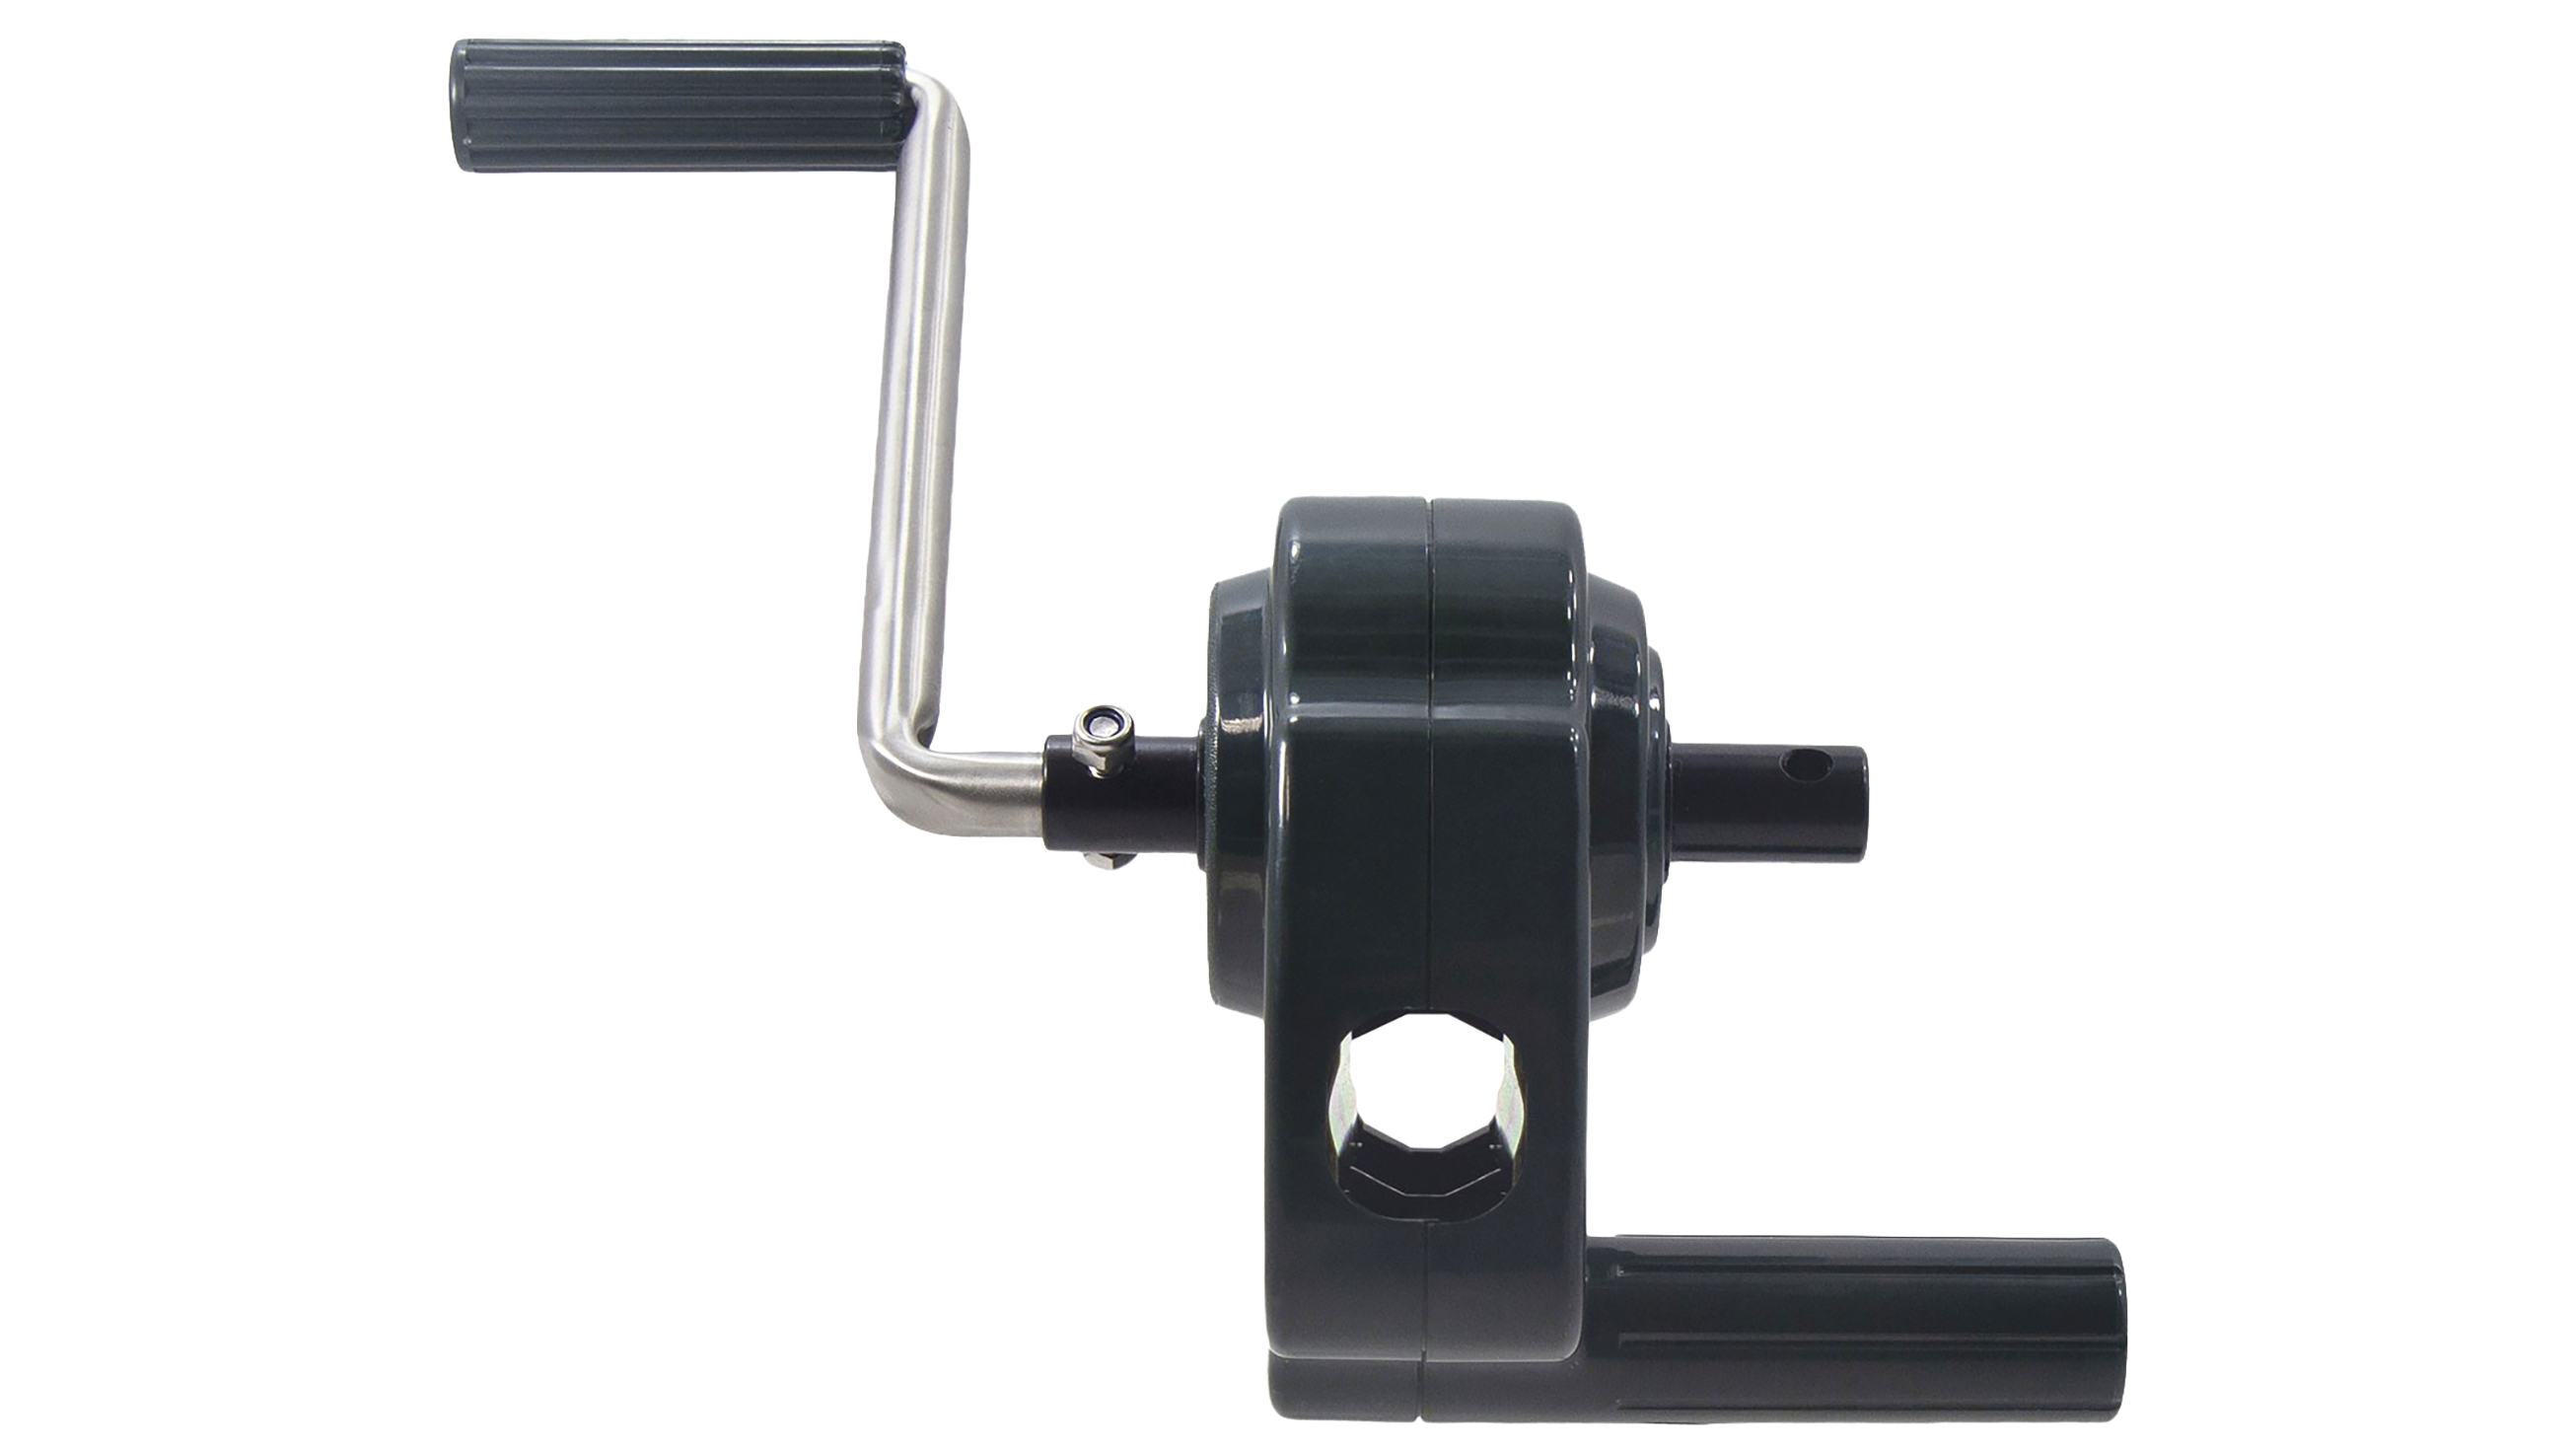
Begin by first attaching the crank handle to the crank body using the smaller nut and bolt set included in the box. Once attached, your crank should look like the one pictured below.
Step 2:
Once your crank has been properly assembled, it's time to install your guide rail. Begin by first taking the greenhouse sidewall EMT conduit and measuring 1 ft. out from the end of the greenhouse and marking that location.
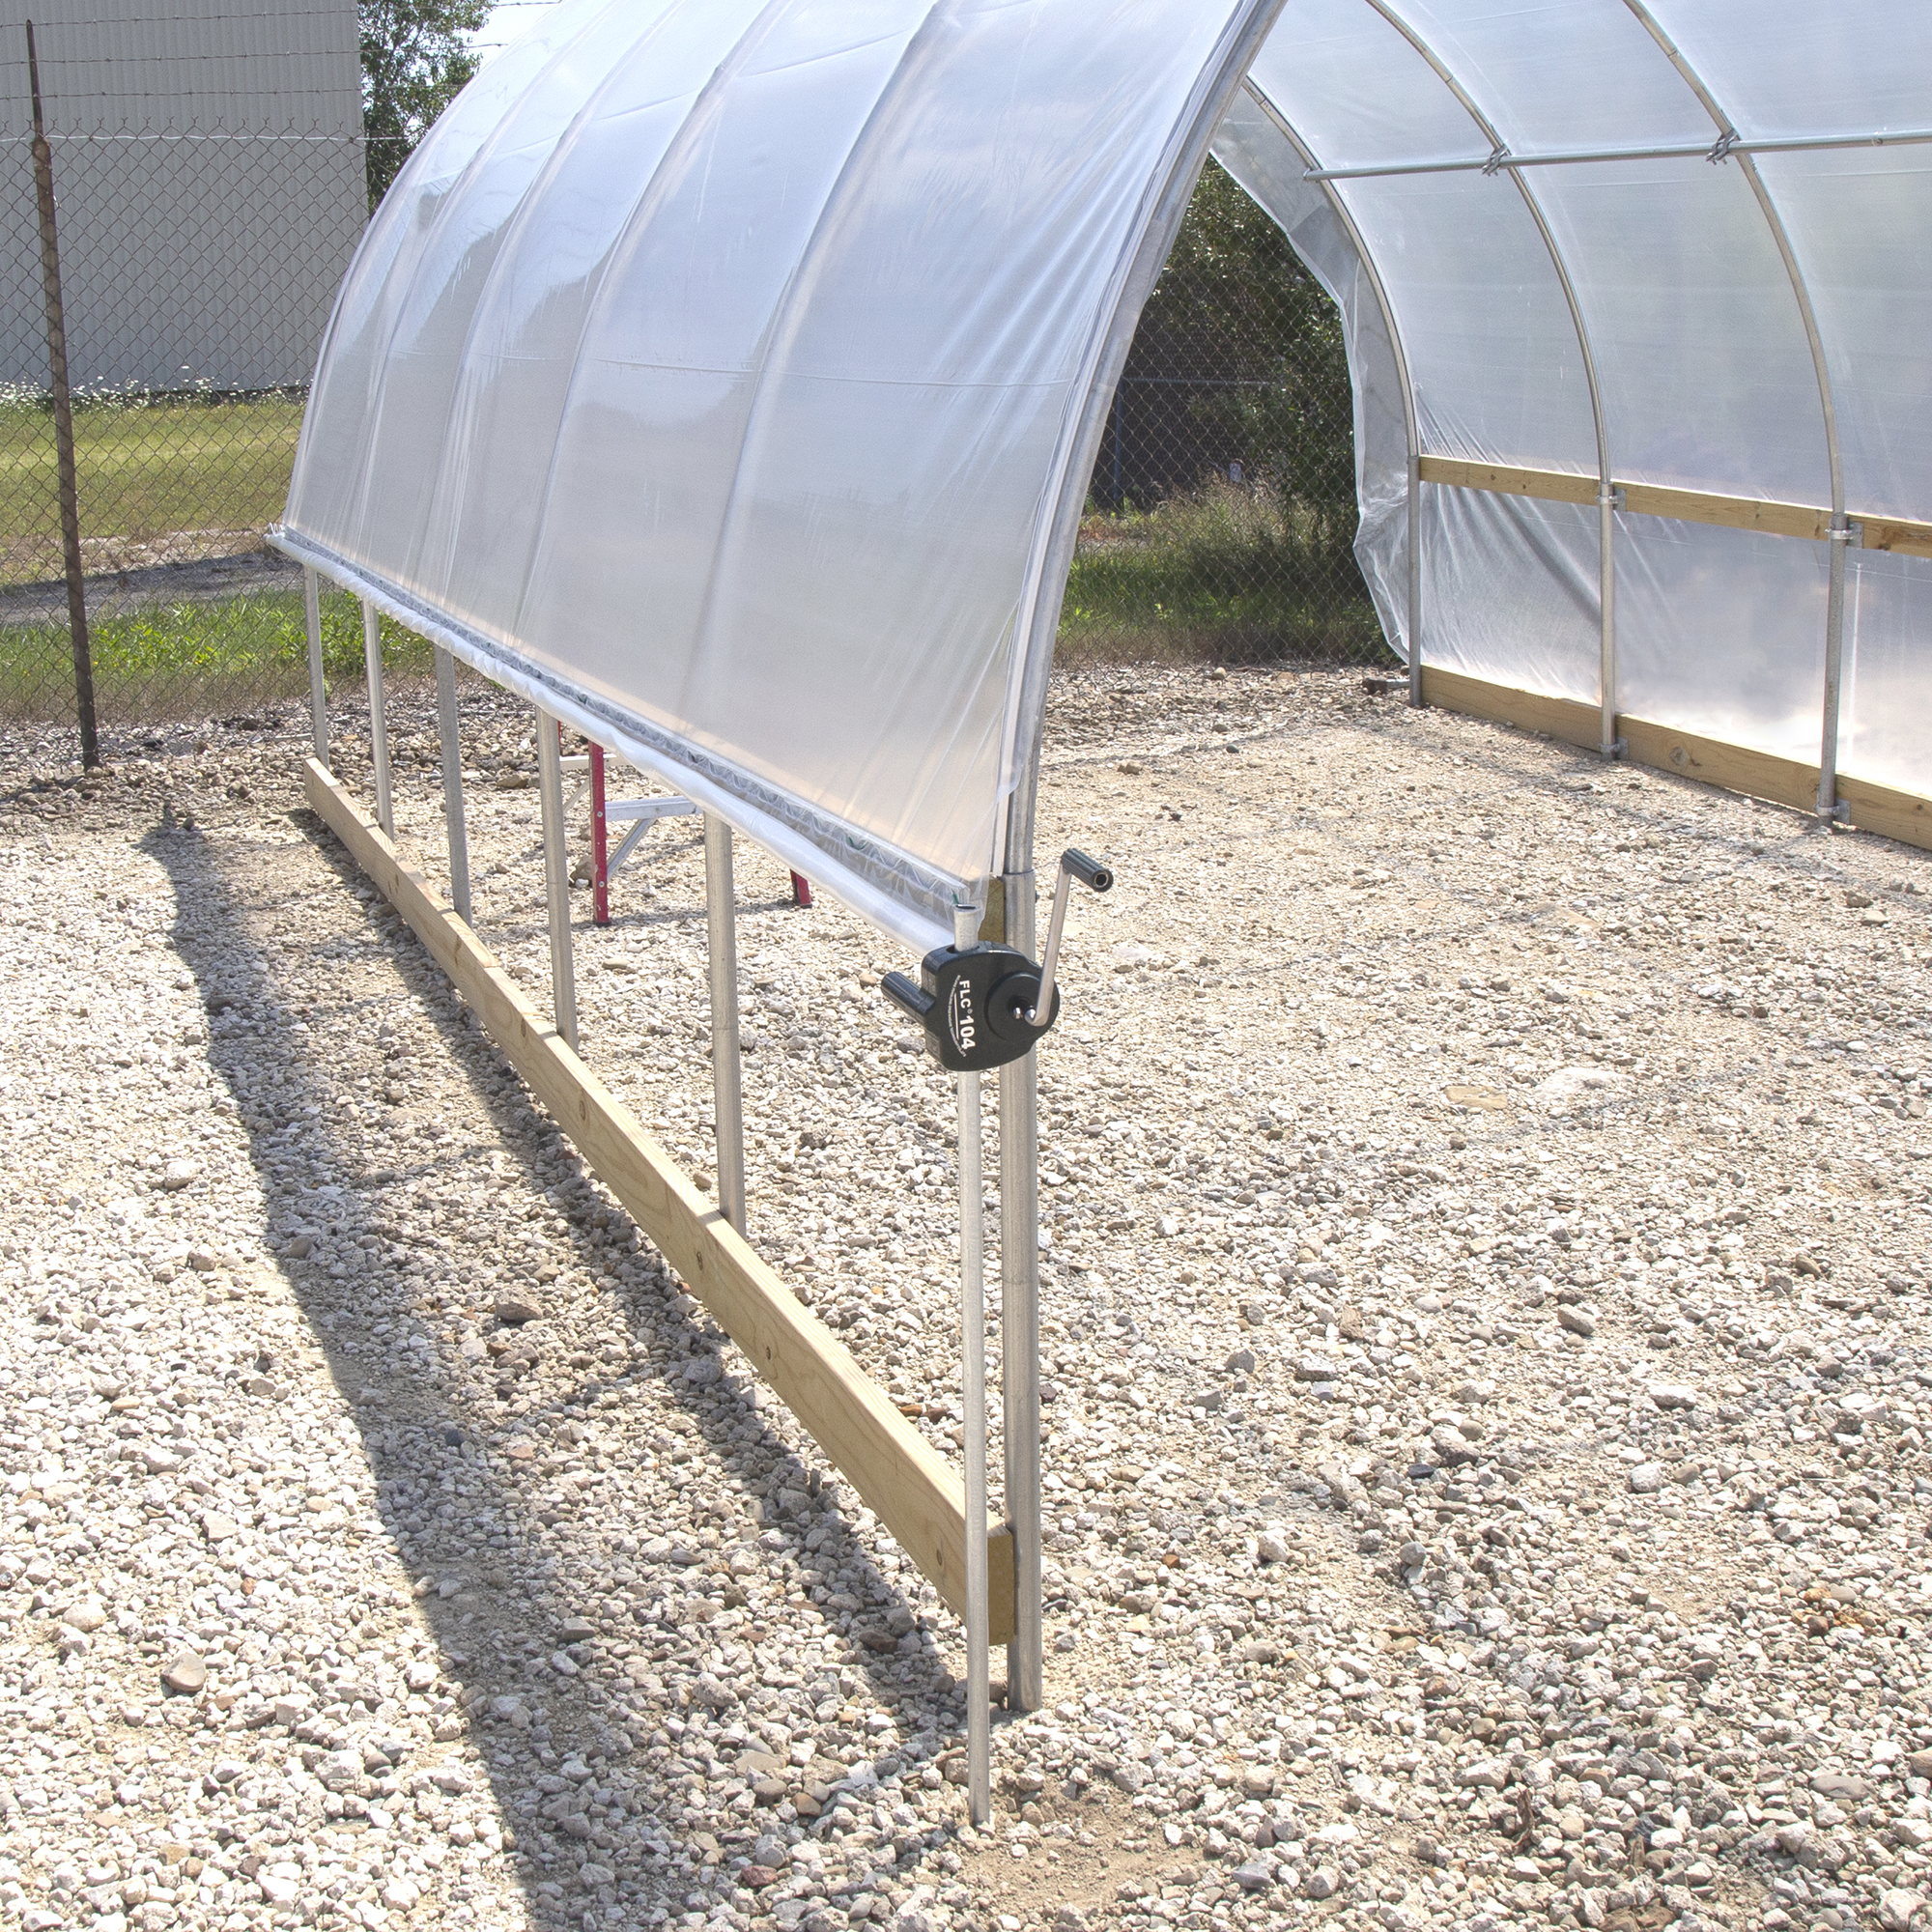
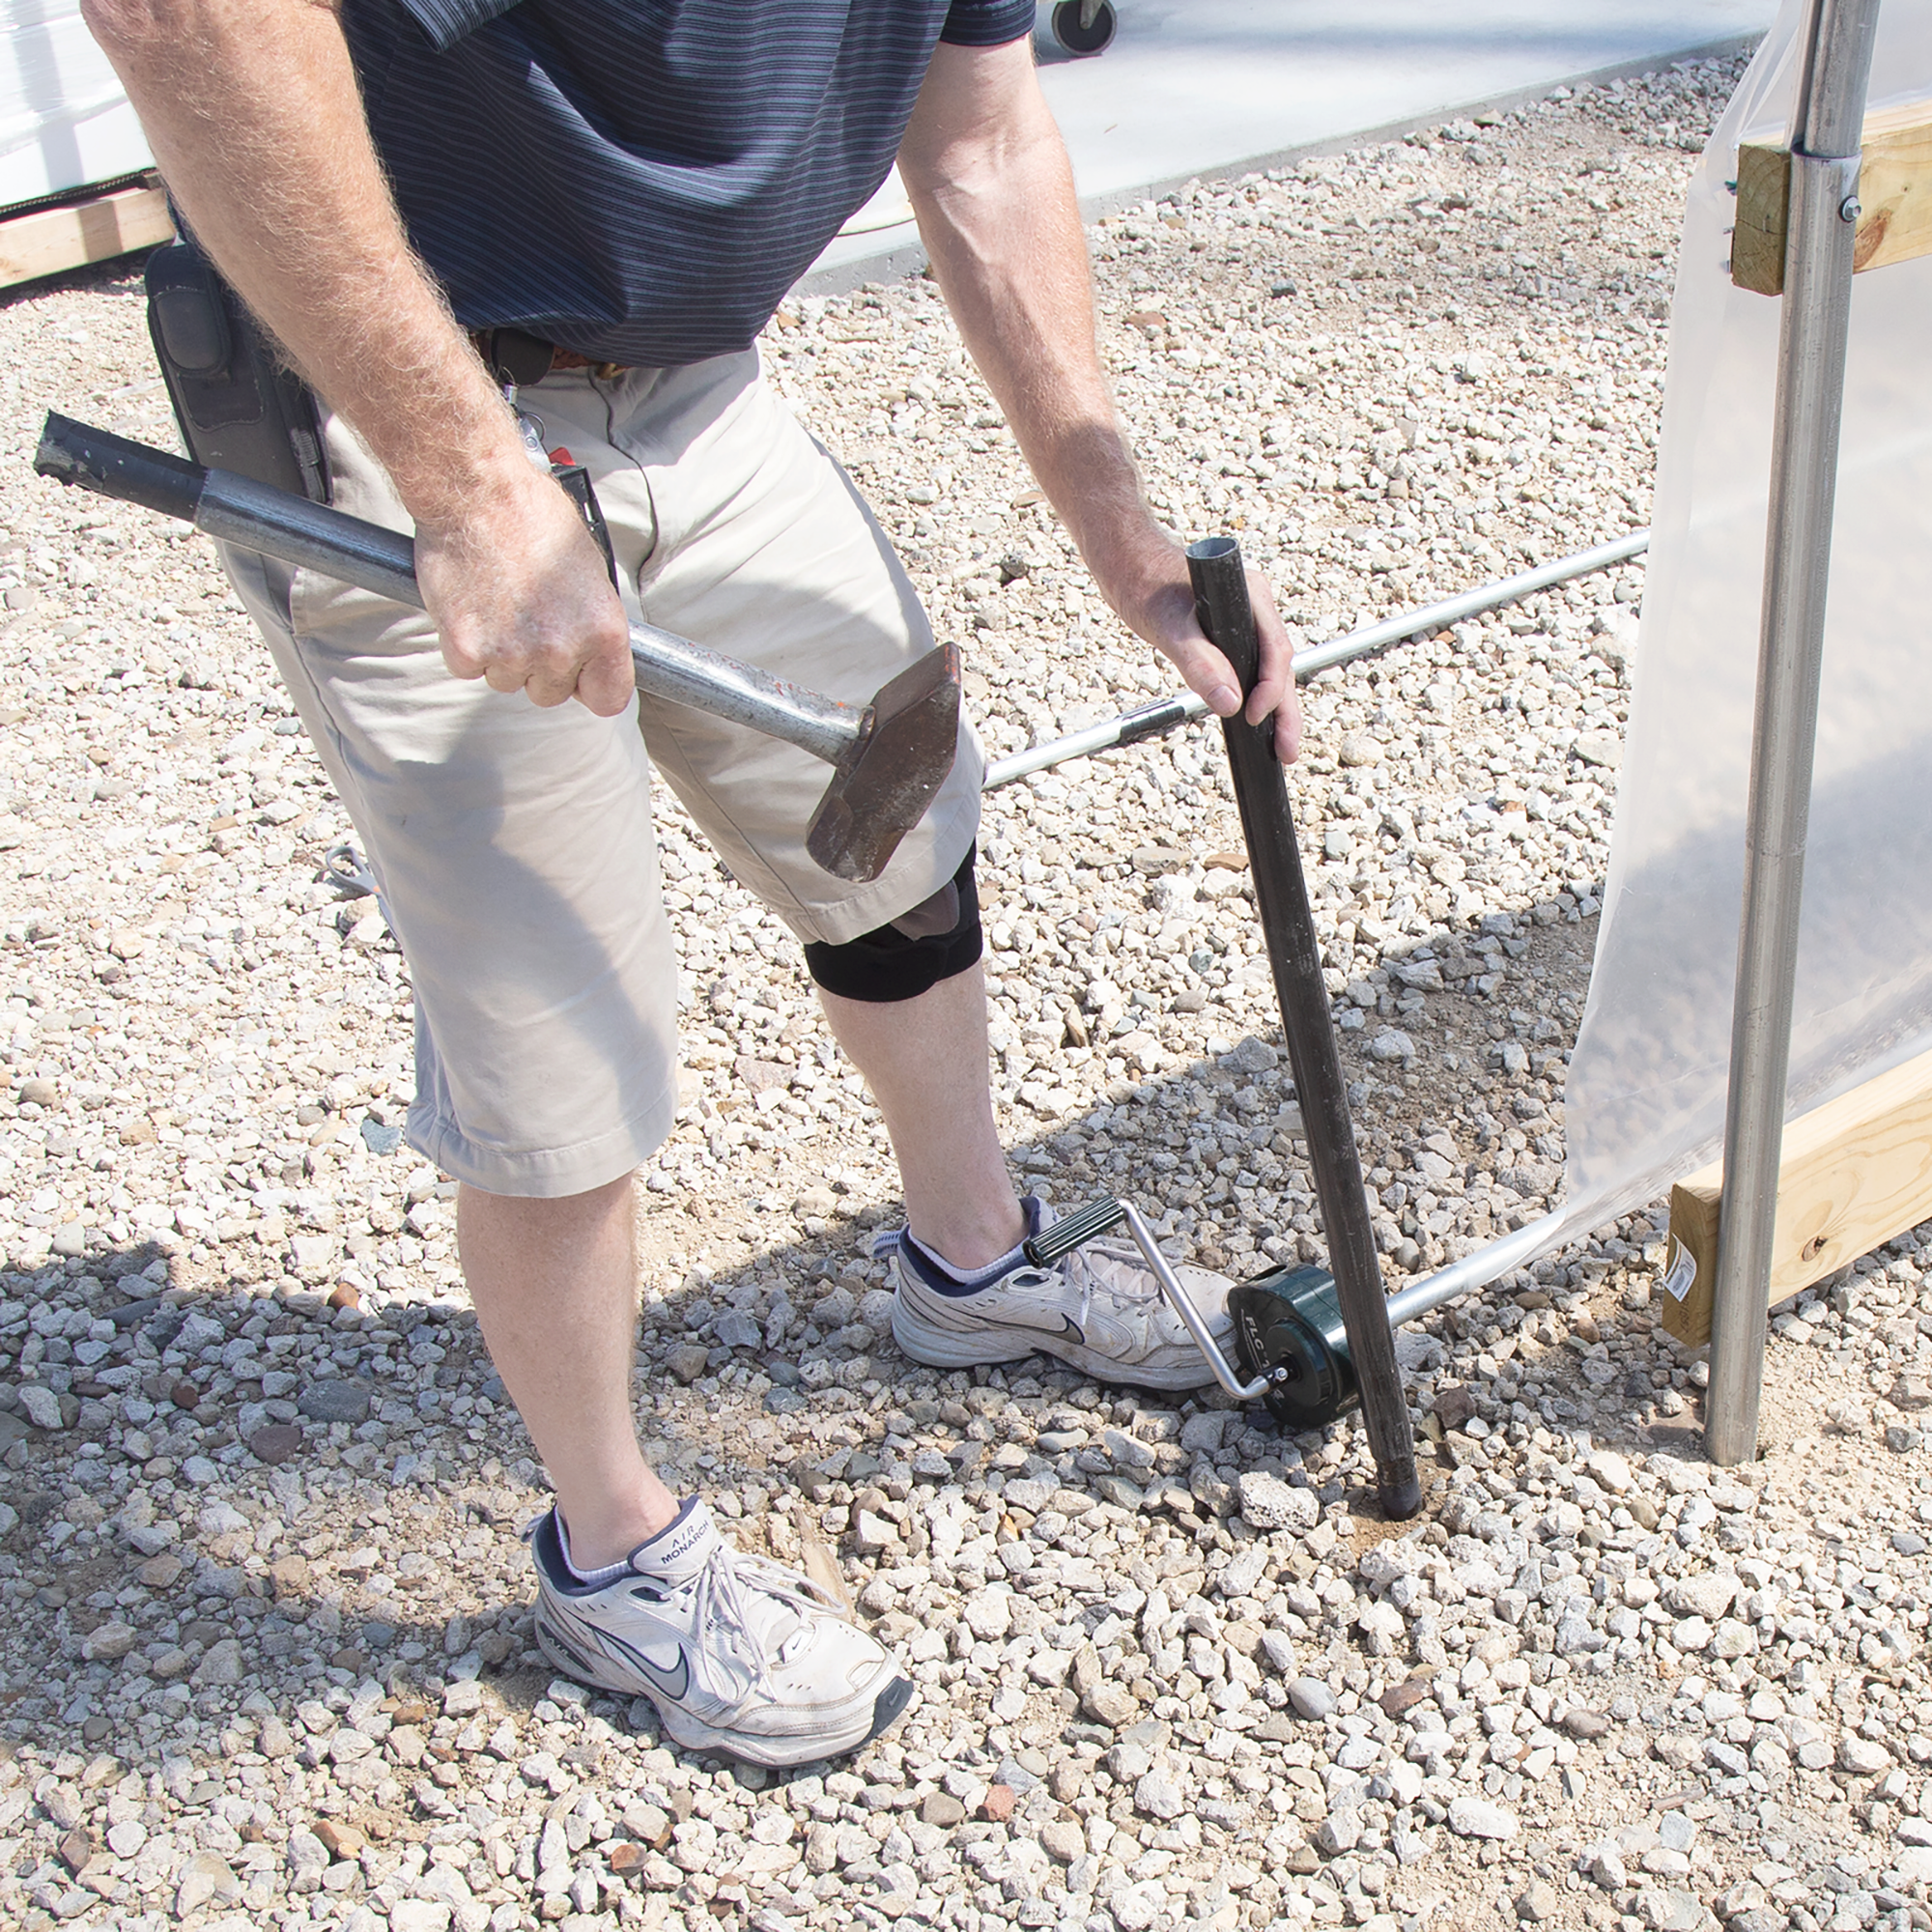
With that location marked, use your mallet to pound a 4-8 ft. (depending on your Jiggly Greenhouse® Wire Channel height) piece of EMT conduit between 1 and 2 ft. into the ground.
Step 3:
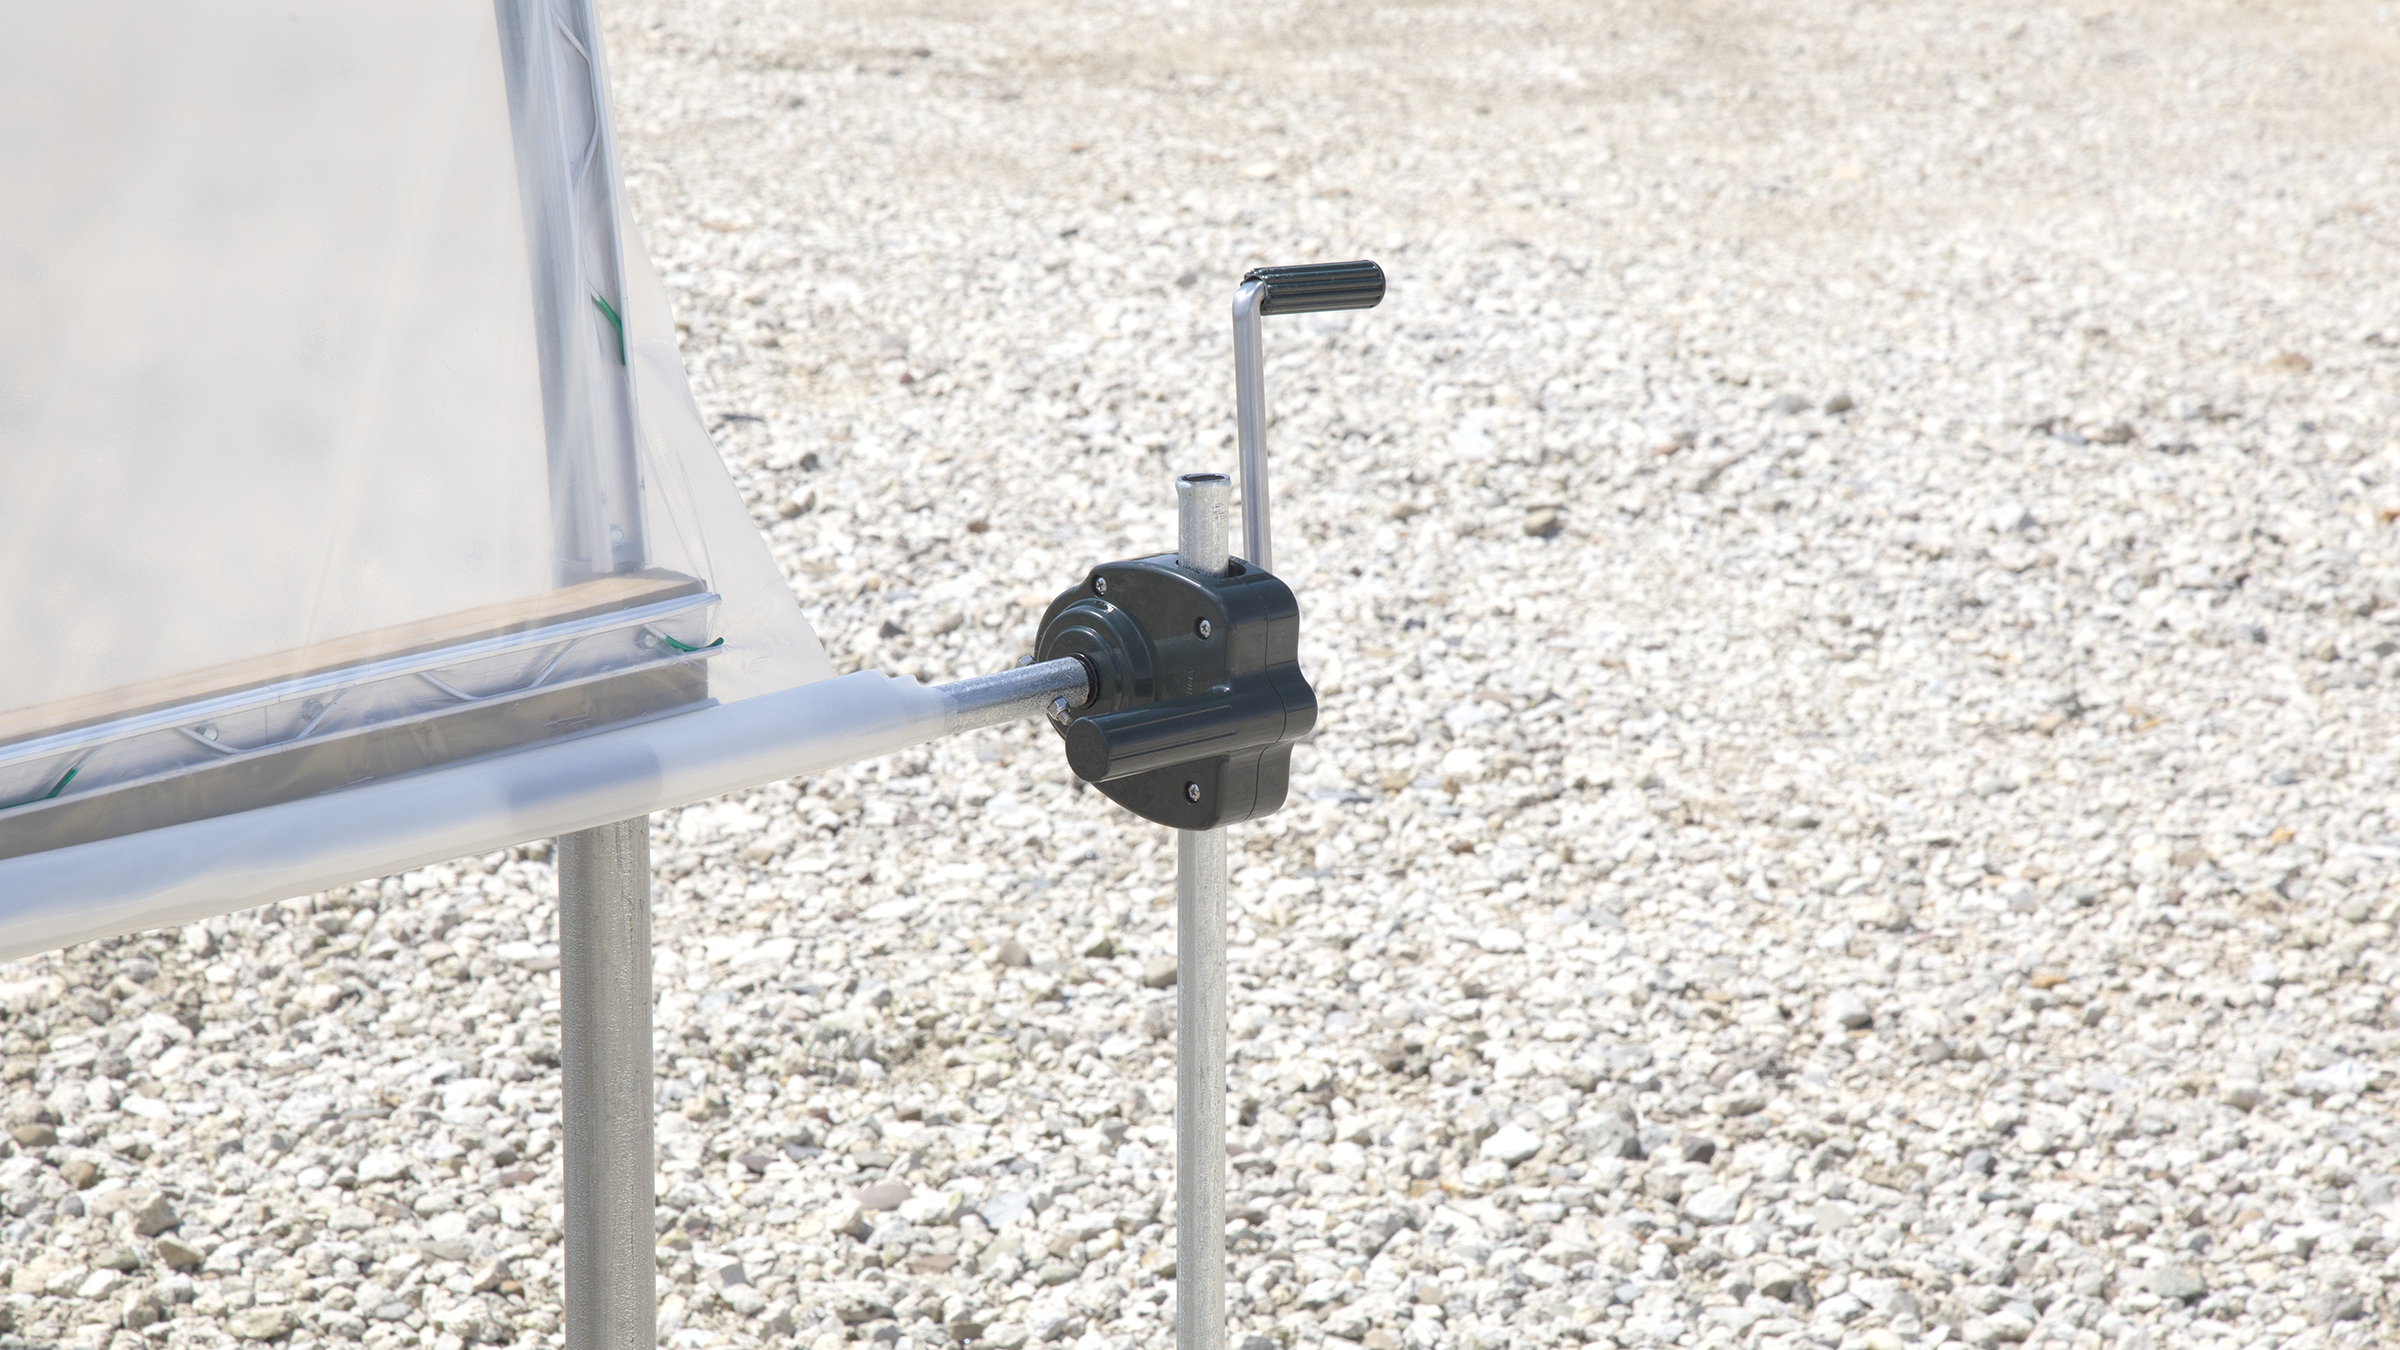
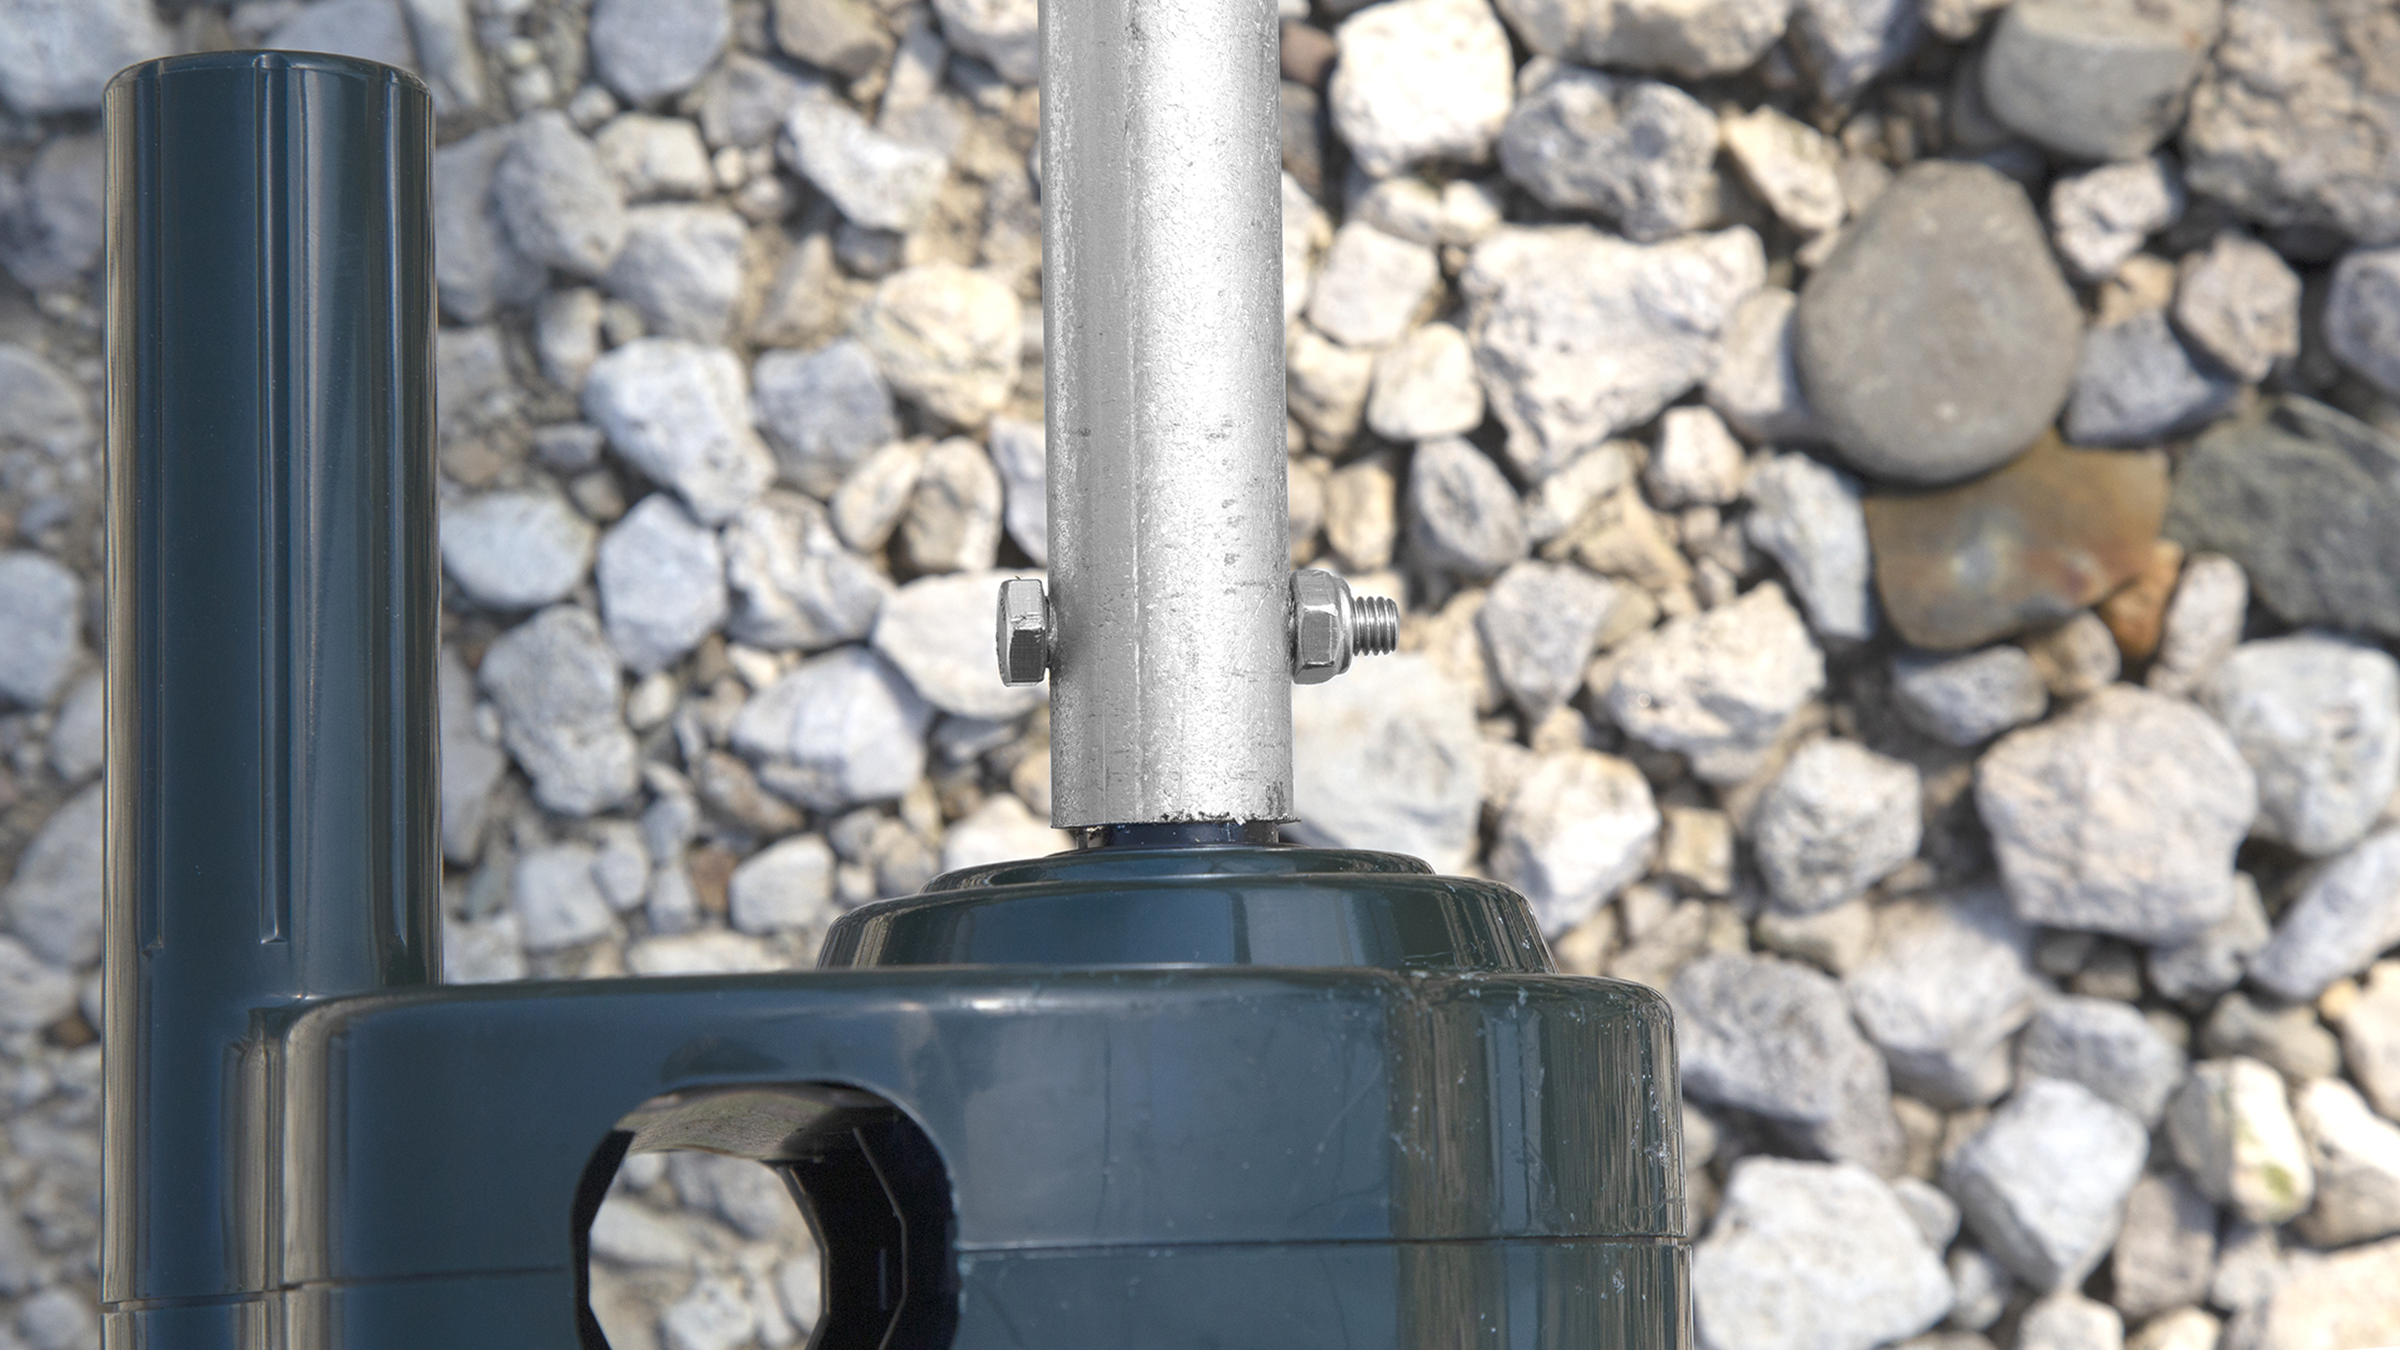
Next, you will use your drill with a 1/4" drill bit to drill through the end of the greenhouse sidewall EMT conduit that is closest to where your guide EMT conduit is installed. You will then attach that EMT conduit to your crank using the longer nut and bolt set included in the box. Once attached, it should look like the picture below.
Step 4:
Now that your greenhouse sidewall EMT conduit is attached to your crank and the guide EMT conduit is properly installed, you can take your crank and slide it down to where the sidewall EMT conduit meets the guide EMT conduit. From there, turn your crank and watch as the crank lifts your greenhouse sidewall!
